June 25, 2024 | Asia Bartholomew
Now that summer has officially arrived and we are spending more time outdoors, light up your space with an upcycled chandelier! This is a great way to breathe new life into an old, builder’s grade light fixture – you know the one, the formal polished brass piece you replaced years ago? All you need is a little paint, some solar lights, and elbow grease to be well on your way to competing with fireflies!
Here is what you will need:
- Chandelier, Make sure the light sockets are pointing up, candelabra style
- 2 Cans Spray Paint (if your fixture is large or detailed, you may need more than 2 cans)
- Solar Lights, We purchased ours online, but you can find inexpensive solar lights at many discount retailers
- Gorilla Glue or other liquid adhesive
- Heavy duty scissors or wire cutters
- Cleaning spray or wipes, drop cloth
Let’s Get Started
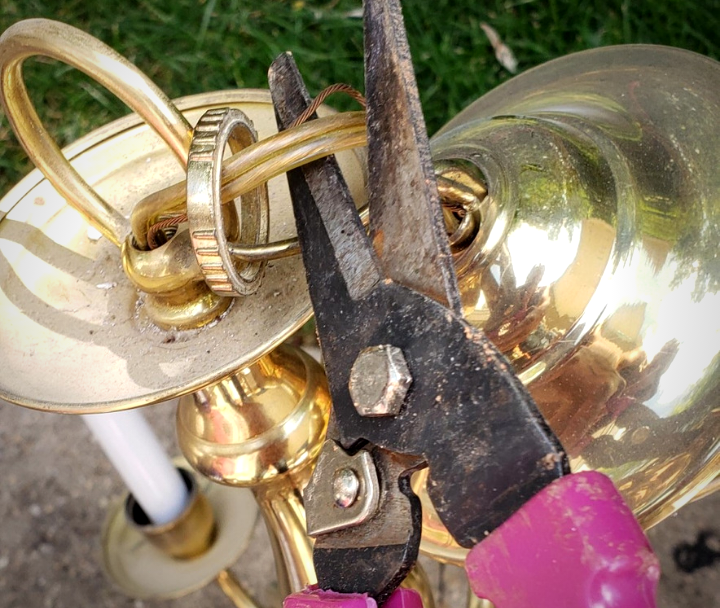
Remove bulbs, globes, crystals, candle sleeves (the white tubes that cover individual sockets) as well as the canopy (the cup-like piece that meets the ceiling when hung indoors) from the fixture. Set aside the candle sleeves, you will use them later! If you are planning to use the chain to hang your light, then you will want to remove it from the fixture for easy cleaning and painting later. Next, get rid of any exposed electrical wire by cutting it away. Wire is often woven through the chain, so be sure it’s all removed before you paint!
Time to clean! Using your cleaning materials, clean every inch of the fixture. Be sure it is free of dirt and dust particles as these will show up in your paint. Pay particular attention to the bobeche, the cupped piece on the end of the chandelier arm, as it is a dust collector!


Time to Paint
Now that your light fixture is clean and shiny, it’s time to paint! As always, make sure you are in a well ventilated area when using spray paint. Start spraying your fixture using short, quick bursts to give it a light coat, covering as much of the surface as possible. Once the paint is dry, rotate the fixture so you can have an even coat all the way around. Be sure to look at your chandelier from different angles, there are lots of nooks and crannies that are easily missed. When you are satisfied and your paint is dry, turn your fixture upside down and repeat the painting process. Once hung the bottom of the fixture will be in full view, you want to be sure to cover those spots well! Speaking of hanging, don’t forget to paint your chain!
Solar Lights
Prepare your solar lights while paint is drying by following the manufacturer’s instructions on how to activate them. Test to make sure they are working by completely covering the solar panel. If they are working properly, the light should come on immediately. Most solar lights have 3 components; the stake, the clear plastic “globe”, and the solar light mechanism. For this project, you will only need the clear plastic “globe” and the solar light mechanism.


Put It Together
Now that the paint is dry and solar lights are working, it’s time to assemble the light components! Grab a candle sleeve and using your Gorilla Glue or other liquid adhesive, place a small bead on one end and attach to the bottom of the clear globe portion of the solar light. Repeat the process for each light and let dry. Once the glue is set, you can reassemble the chandelier by sliding the candle sleeves over existing bulb sockets.
Ready to Hang
Once all your solar lights are attached, you are ready to hang your light! Be sure and pick a spot that allows at least 6 hours of daylight to access the solar panels on top of the individual lights.
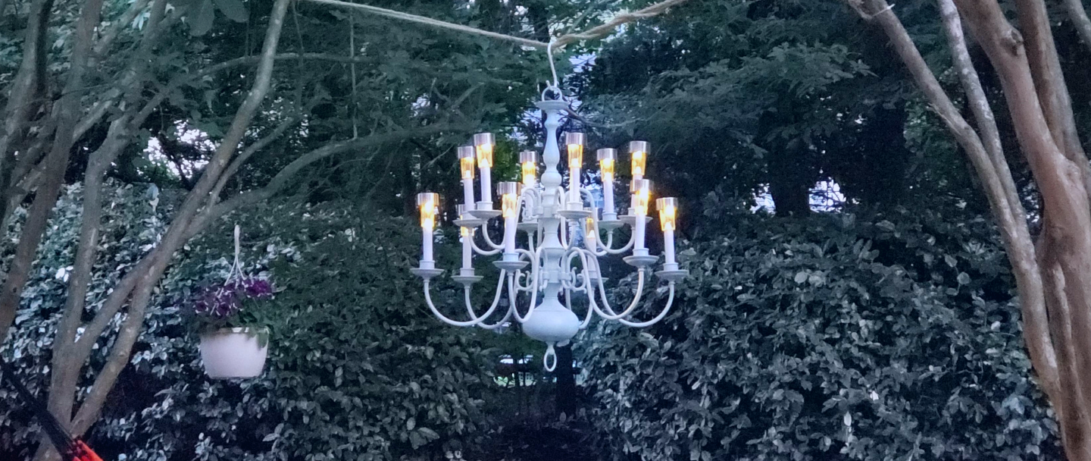
Now that your light is hung, all you have to do is wait for nightfall and voila! A beautiful, environmentally friendly outdoor chandelier that will last for seasons to come!
This project is as easy as it is fun! Stop by one of the Charlotte Region ReStores and pick up an inexpensive chandelier today to create your own upcycled outdoor chandelier! We have loads of them in stock at our 4 open locations; Wendover, Wilkinson Blvd., Cornelius, and Mooresville. Remember, we are open Tuesday – Saturday from 10 am – 4 pm!
See you soon!


Like this blog?
Sign-up for the ReStore Rundown and be the first to know about our latest DIYs, cool products and unique ReStore finds!


