April 24, 2024 | Asia Bartholomew
By Sarah Ramberg of www.sadieseasongoods.com
Happy October, fellow ReStore shoppers. It’s Sarah of www.sadieseasongoods.com again, with a new upcycling project idea to share with you!
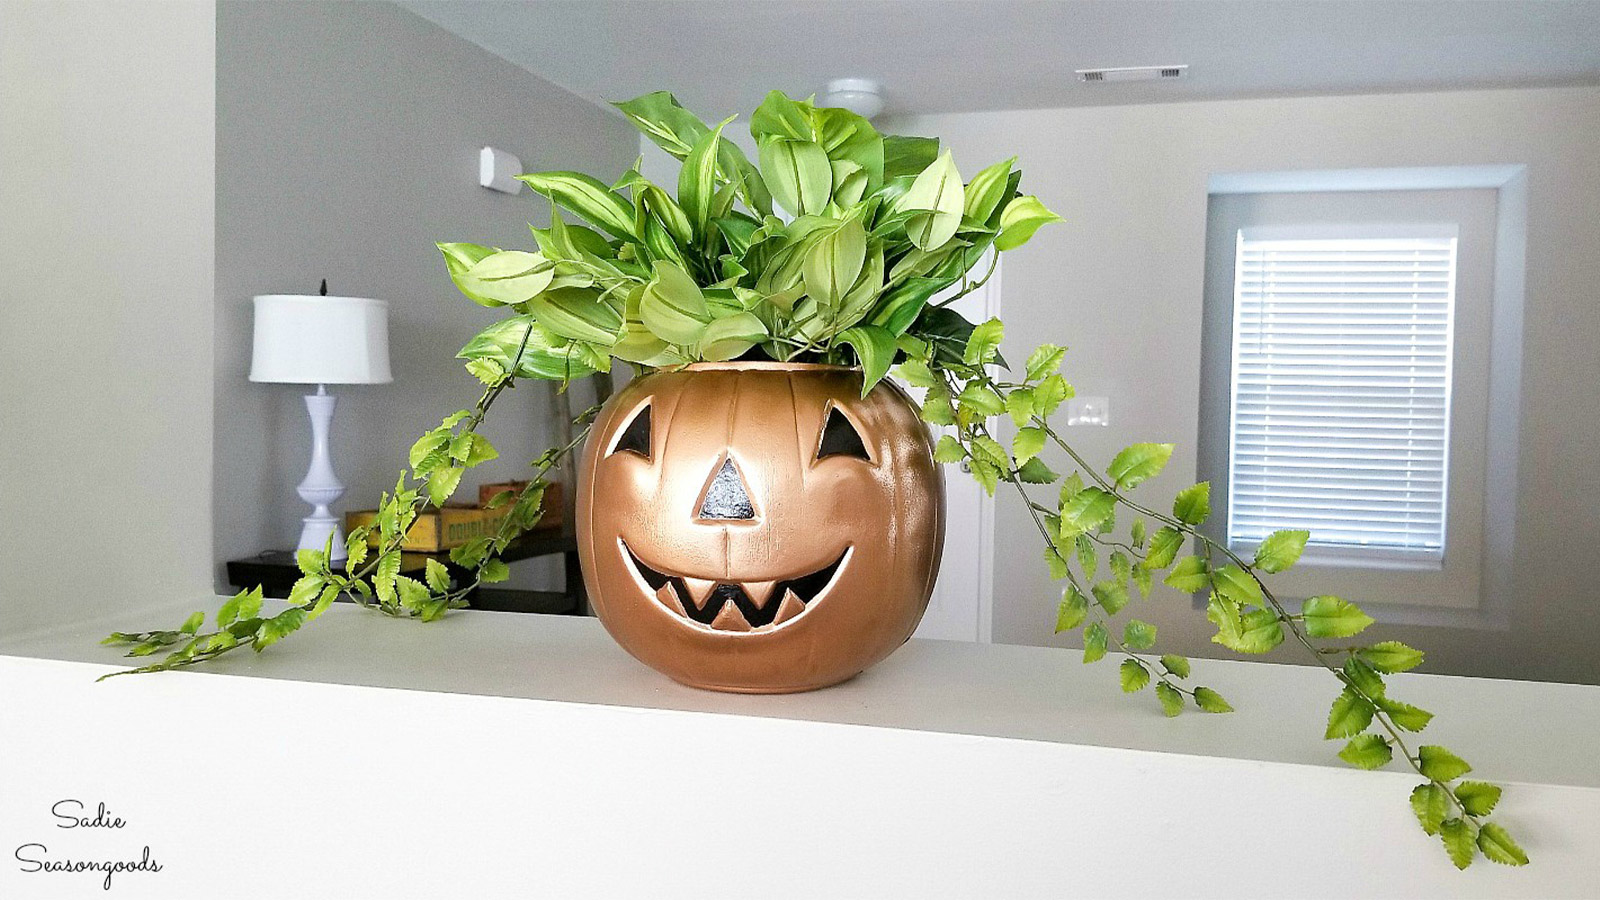
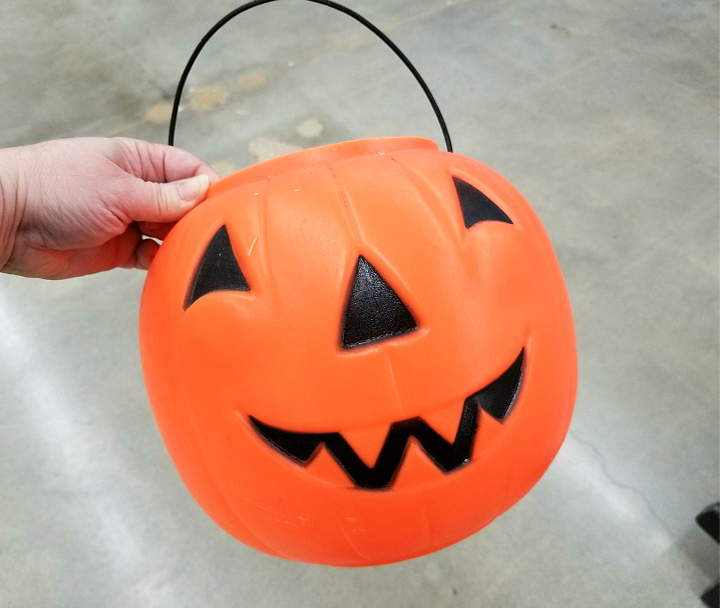
To celebrate October and all things Halloween, I decided to repurpose a plastic pumpkin candy bucket that I picked up at the ReStore into something sleek and modern. Most Halloween decor is either spooky or cutesy, but I’m sure there are a few of you who are looking for something a little more contemporary and “gourdgeous”- am I right?
Here’s what you’ll need:
- Plastic Halloween candy bucket
- Heavy duty scissors
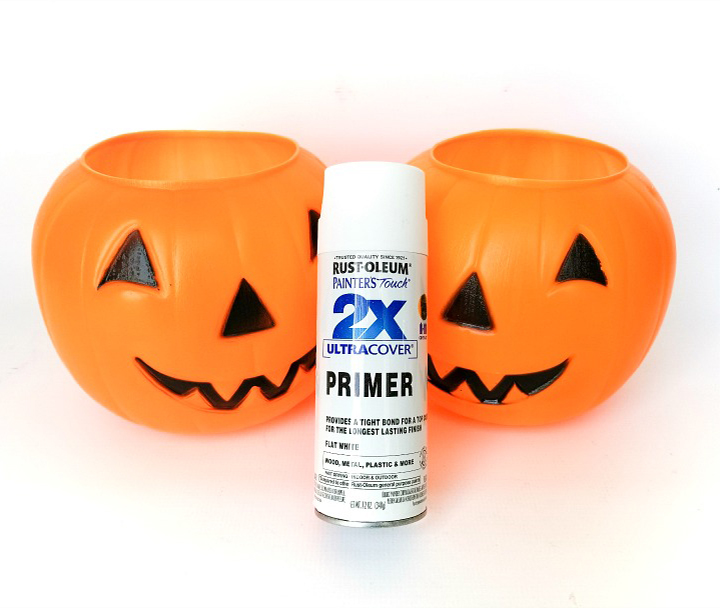
- Spray primer (flat white is ideal)
- Metallic spray paint (I chose copper, but gold or bronze would be super glam, too!)
- Drop cloth or newspaper
- Black glossy paint (acrylic or latex)
- Small craft paint brushes in various sizes
Safety first!
Make sure you have a safe, well-ventilated space to use your spray primer and paint. Take care while using anything sharp, such as heavy-duty scissors.
Here’s how to make your Glam Jack-o-Lantern!
- Find a plastic jack-o-lantern candy bucket at any of the 7 Charlotte Region ReStores in any color or facial expression that appeals to you.
- With heavy duty scissors, clip off the plastic handle of the candy bucket. You can discard the plastic handle!
- Next, set up a ventilated area to use spray primer on your plastic bucket, exterior and interior. If your metallic spray paint has primer built in, then feel free to skip this step! You don’t need opaque primer coverage, but enough to give your metallic paint a good surface to adhere to.
- Select a metallic spray paint for your glam jack-o-lantern, such as copper, gold, or bronze.
- Once again, use your ventilated area to thoroughly paint the primer-covered candy bucket with metallic paint (exterior and interior). Allow paint to dry thoroughly.
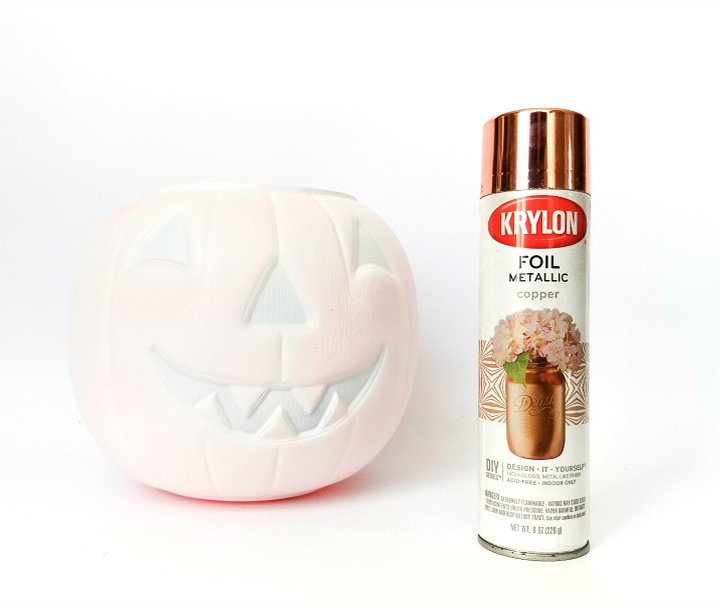
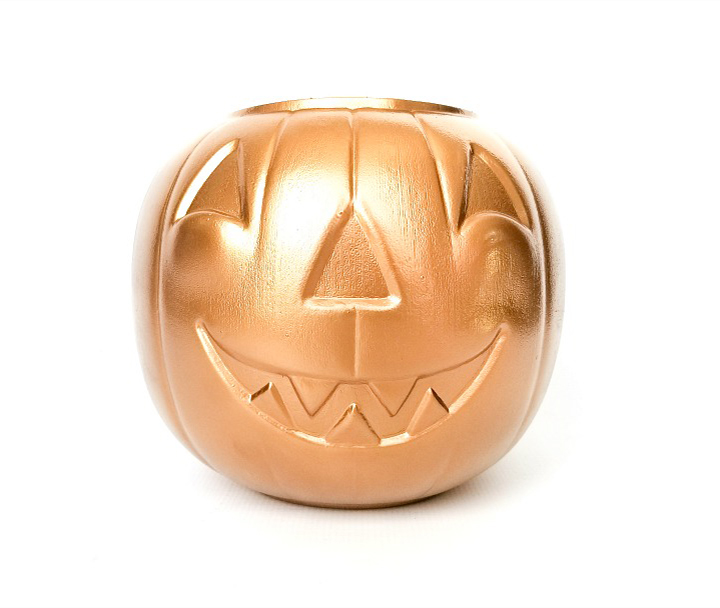
- Check out the comparison of copper and gold below – it would be fun to mix and match these around your house, don’t you think?
- To finish off your glam jack-o-lantern, spread out a drop cloth or newspaper over a work surface. Then, use your glossy black paint to fill in the eyes, nose, and mouth of your glam jack-o-lantern. This is where several small craft paint brushes come in handy, so that you have options for filling in corners, etc.
- Allow black paint to dry thoroughly. Then, place a house plant in your glam jack-o-lantern, or fill with candy, or just place them around your home!

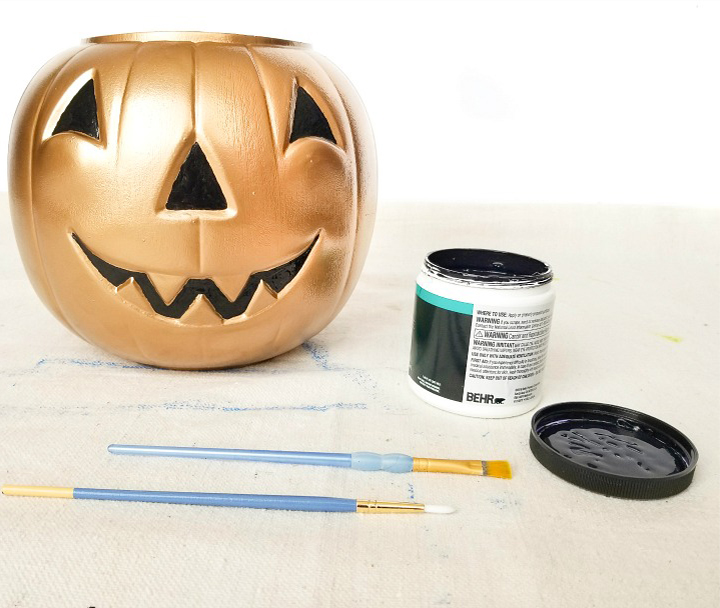
Happy Halloween!
It’s just that easy to transform a plain plastic pumpkin into something chic and elegant for your home! And you KNOW how easy it is to find those candy buckets at this time of year. Buh-bye bright orange jack-o-lantern, hello metallic glam!
Are you feeling this DIY for Halloween decorating at home? We would love to see your own “glam-o-lanterns.” Take a snap and tag us (@cltregionrestore and @sadieseasongoods) with the hashtag #ReStoreHalloween!
