Adjust Ban Book Bookmark Calendar Car Checked Circle Outlined Clock Close Coffee Equal Housing Opportunity Exclamation Facebook Female Flag Gift Globe Graduation Grid Hammer Hand Heart Habitat for Humanity Charlotte Habitat for Humanity Charlotte - Julia's Cafe & Books Habitat for Humanity Restore Charlotte Habitat for Humanity - Young Professionals House Instagram Leaf Line Chart LinkedIn Habitat for Humanity Restore Megaphone Menu Mobile Pencil Recycle Search Star Suitcase Tags Twitter Users Wrench YouTube Envelope
March 30, 2022

Garden Tool Hanger from a Cabinet Door

By Sarah Ramberg

Hey, there, it’s Sarah of Sadie Seasongoods again, with a new upcycling idea to share with you.

Spring is definitely in the air these days, which always means one thing: Yard Work Season! And if you’re anything like me, smaller garden tools (like trowels and weed forks) easily get lost in the garage. So, I decided to make a handy-dandy garden tool hanger using something that all of the Charlotte Region ReStores have: a cabinet door!

Here’s what you’ll need:

  • Small cabinet door from Habitat ReStore (I found mine at the Wendover store)
  • Hooks (either from one of our ReStores or a hardware store)
  • Drill with drill bits and/or screwdriver
  • D-ring hangers or sawtooth picture hangers
  • Sandpaper or sander
  • Wood filler (optional, if needed)
  • Spray paint

Safety First!

For any spray painting that you do, make sure you have a well-ventilated area to work in. If you use any power tools, such as a driller or sander, please wear safety gear and employ good safety precautions while using.

Here’s how this Garden Tool Hanger was Created:

  • Head to one of our Charlotte Region ReStores and locate a cabinet door. I selected a small one from the Wendover ReStore. I chose it because of its smaller size and lack of hardware to remove. 
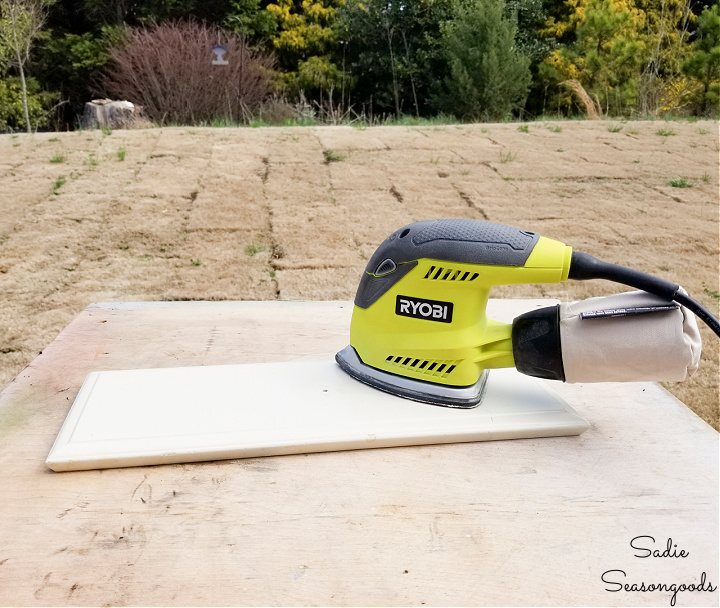
  • Remove any hardware such as knobs and hinges. Then, use sandpaper or a sander to smooth the surface and prepare for painting.
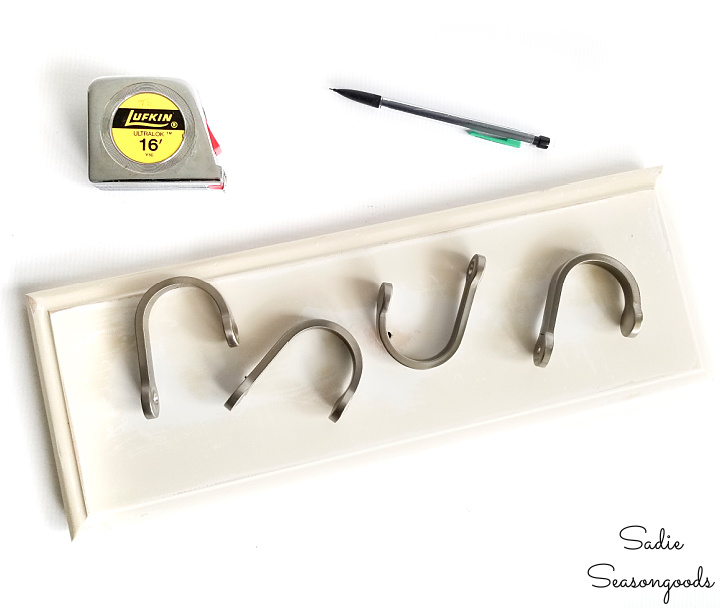
  • Place your hooks on the front of your cabinet door to mark where they will be drilled into place. I used a tape measure to make them as even as possible. Then, drill pilot holes where the screws will go. I always take this step before painting to ensure I don’t mess up the paint job!
  • If your cabinet door has any extra holes, such as one for a knob, use wood filler to fill it and allow to dry overnight. Then use sandpaper to smooth over the surface before painting.
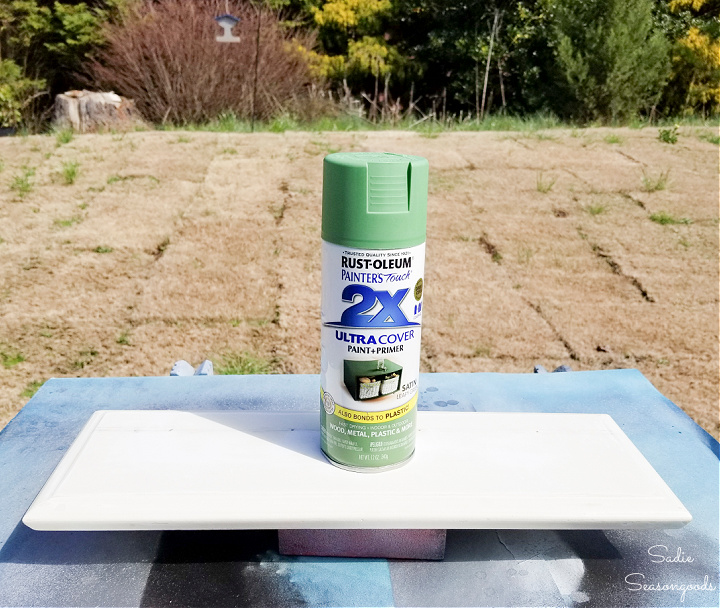
  • Next, paint your cabinet door. Spray paint or regular latex/acrylic paint would be fine.
  • Using your drill or a strong screwdriver, attach the D-ring hangers (or sawtooth hangers) to the back of your cabinet door. Last but not least, screw on the hooks to the front!
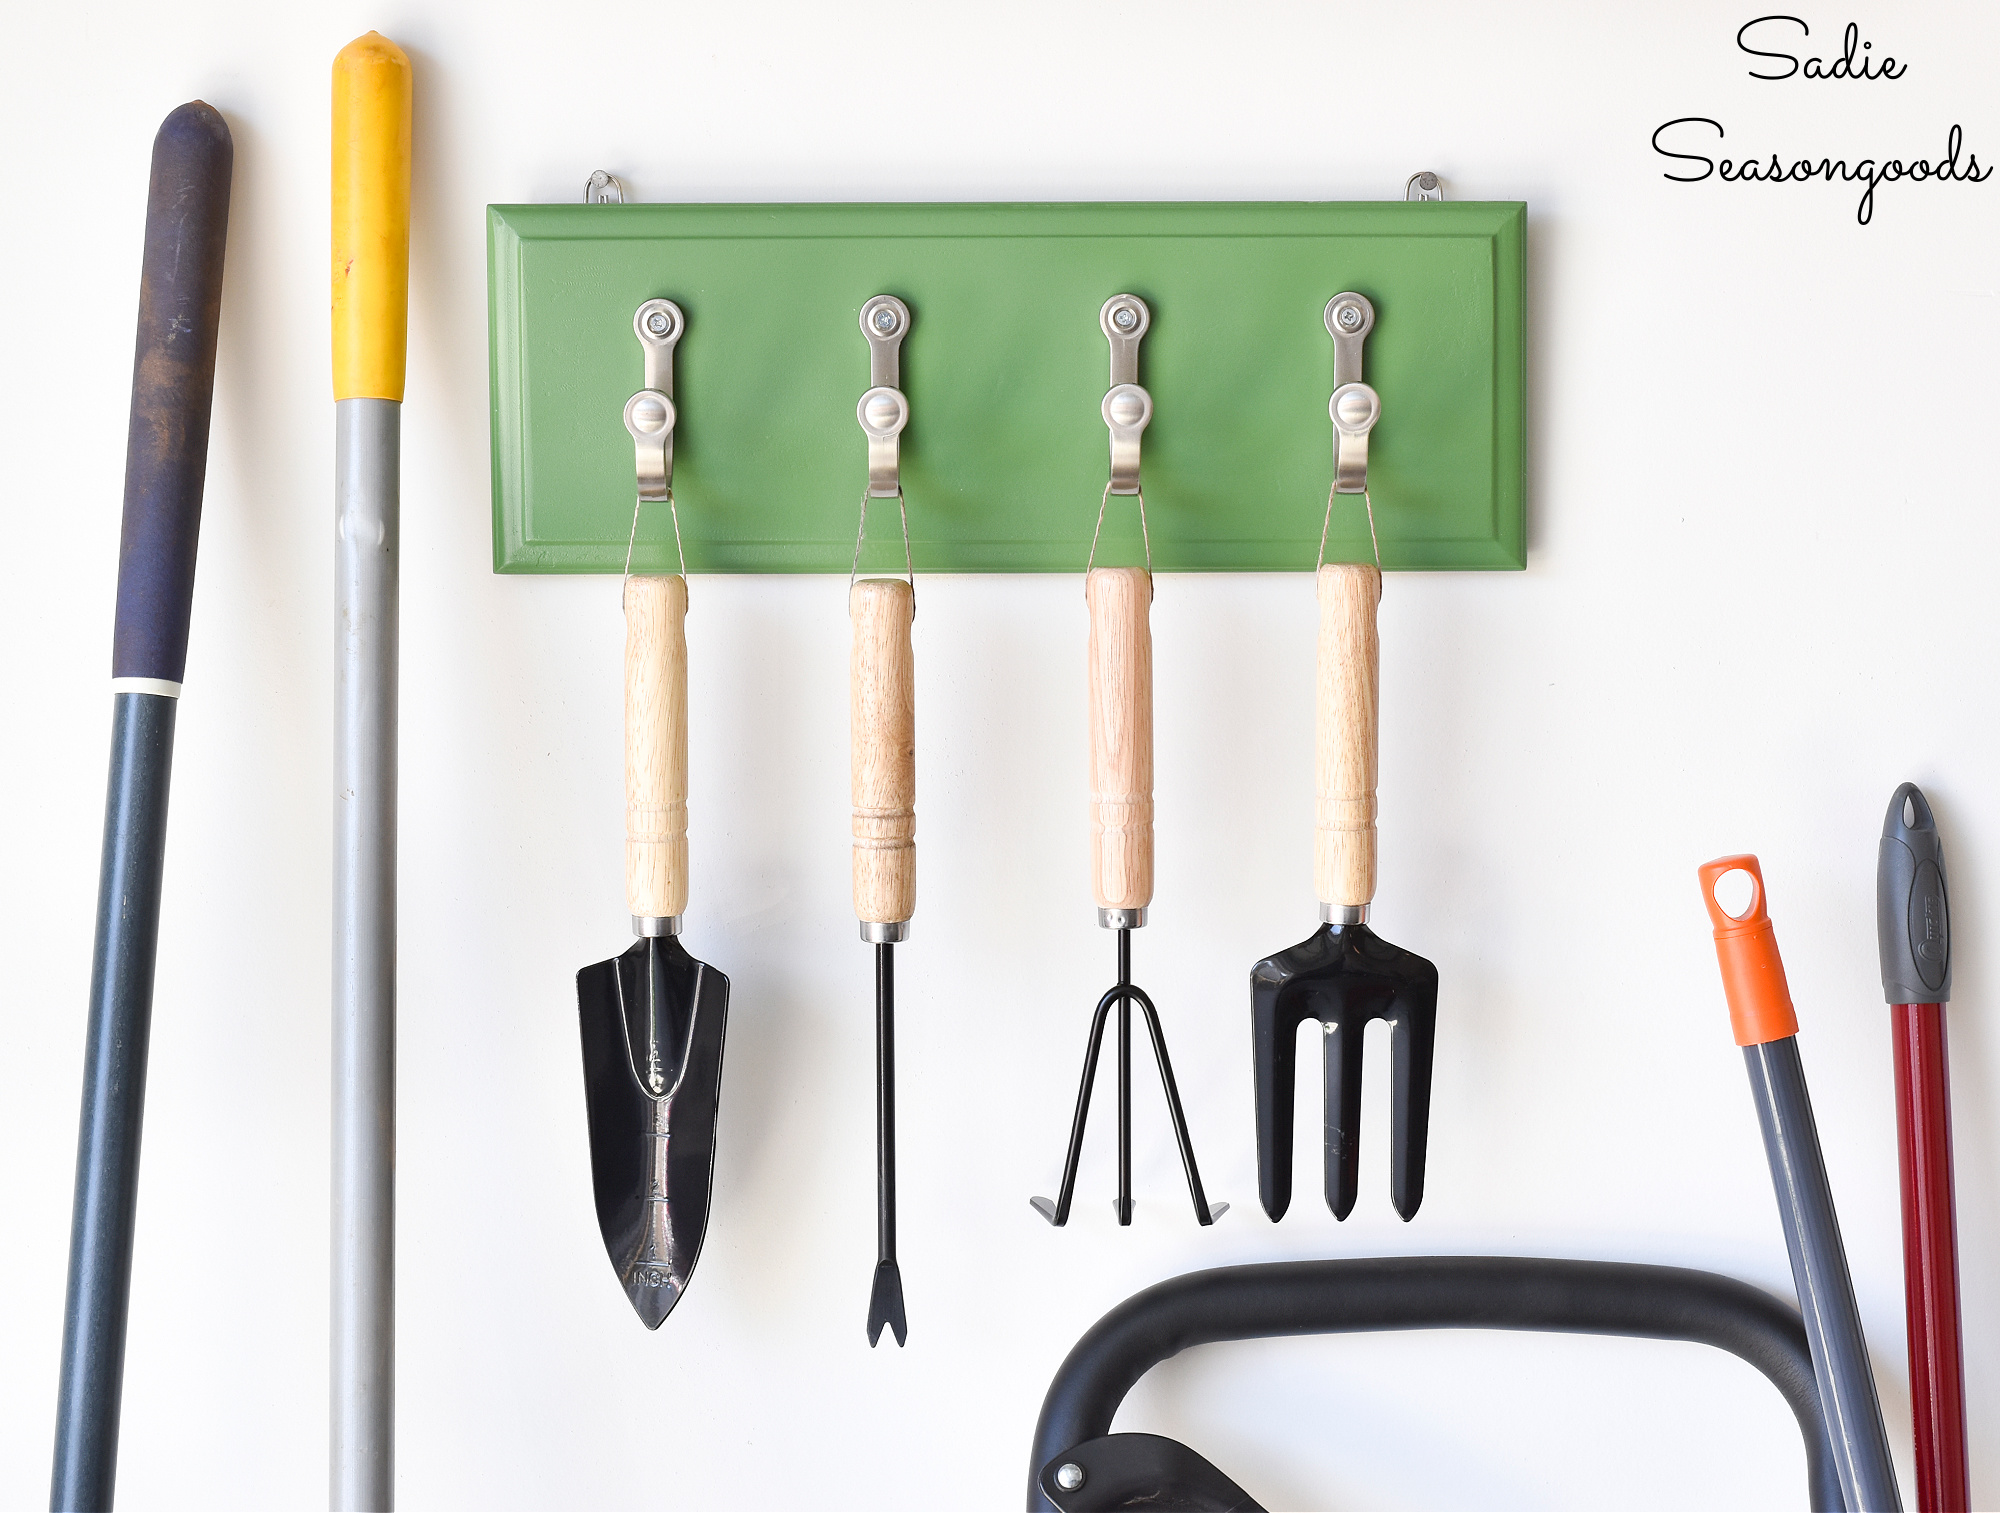
  • Now your garden tool hanger is ready to hang in the garage or tool shed! Use it for hand tools, gardening gloves, a wide brim hat, or anything else you use!

Let’s Get Outside!

How easy was that? And SO handy for the garage. Think you’ll make your own garden tool hanger this season? Please tag us (@cltregionrestore and @sadieseasongoods) with the hashtag #ReStoreGarden to show off your projects!


More Stories