Adjust Ban Book Bookmark Calendar Car Checked Circle Outlined Clock Close Coffee Equal Housing Opportunity Exclamation Facebook Female Flag Gift Globe Graduation Grid Hammer Hand Heart Habitat for Humanity Charlotte Habitat for Humanity Charlotte - Julia's Cafe & Books Habitat for Humanity Restore Charlotte Habitat for Humanity - Young Professionals House Instagram Leaf Line Chart LinkedIn Habitat for Humanity Restore Megaphone Menu Mobile Pencil Recycle Search Star Suitcase Tags Twitter Users Wrench YouTube Envelope
December 15, 2020

Holiday DIY: Cookies & Milk Serving Tray

By Corina Patterson

We are back at it again with the picture frames! We had so much fun with the picture frame wreath, not to mention our earring holder and chalkboard frame, we challenged ourselves to see what else we could make with a picture frame. This time we wanted to create something the kids would enjoy and that could be used in different ways. In this blog, we are going to show you how to make an adorable tray that is ideal for serving cookies & milk to the jolly old elf himself, Santa! The Charlotte Region ReStores always have plenty of frames on hand as well as materials needed for this project like cabinet hardware and even Gorilla Glue. This project is budget friendly, easy, and customizable!

Who is ready to get started? 

Supplies for picture frame tray

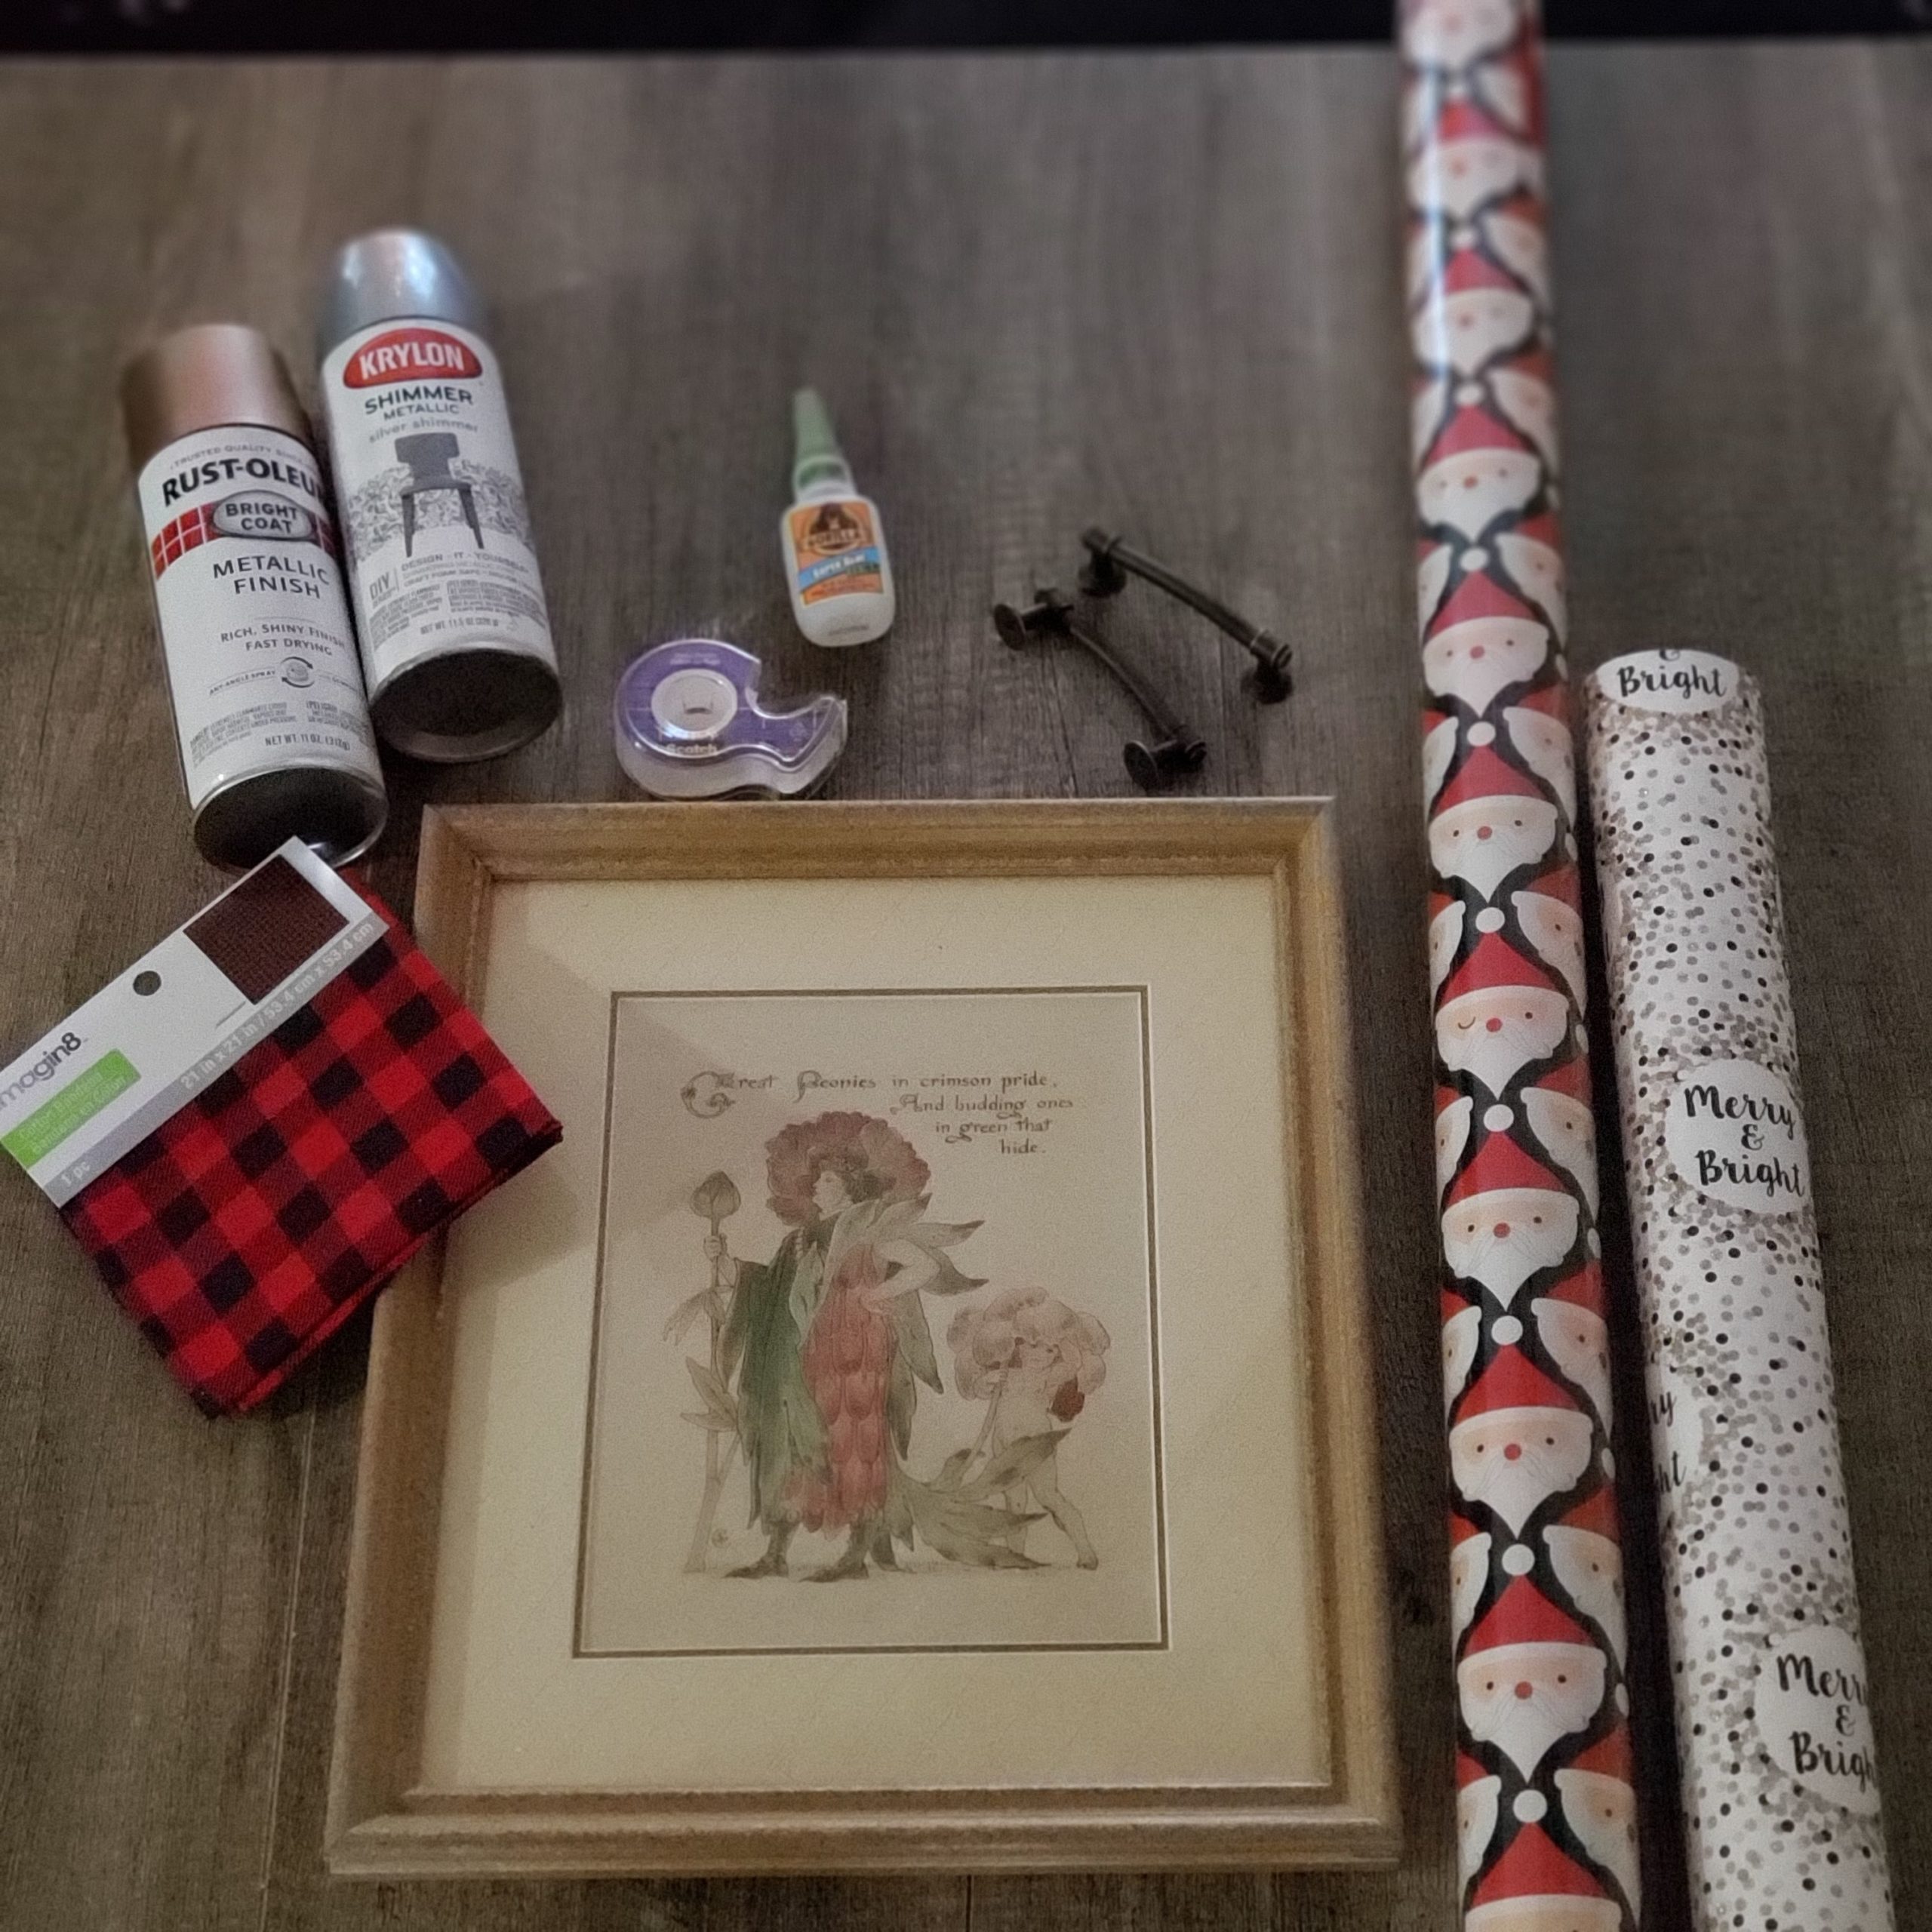
Let’s talk about materials. You will need the following:

  • Picture frame. Choose a frame that is at least 11” x 14” or larger so there is plenty of room for cookies, milk, and letters to Santa. Make sure the frame is at least an inch thick (or more) as this is where you will secure your tray handles. 
  • 1 can of spray paint  (we chose a textured, metallic silver)
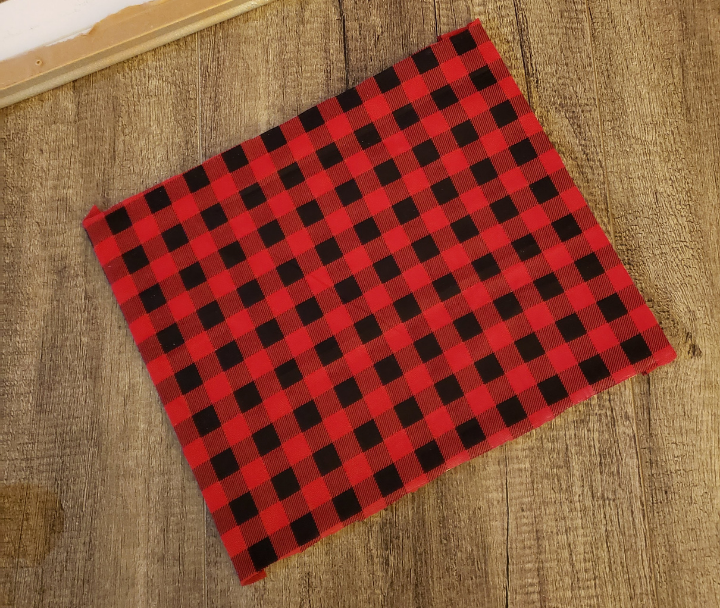
  • Printed fabric or wrapping paper large enough to cover the opening in matte or frame glass. (we chose a buffalo plaid bandana and Santa wrapping paper for the matte)
  • 1 pair of cabinet handles/ hardware. They should be large enough to serve as tray handles and should not have screws attached.
  • Pliers, screwdriver 
  • Measuring tape, pencil
  • Gorilla Glue or hot glue, tape
  • Scissors, exacto knife
  • Cleaning supplies, drop cloth
  • Safety mask, goggles, and gloves

Next, let’s talk about safety. When preparing to complete the DIY Santa Tray, be sure you are painting in a well-ventilated area! Remember, hot glue is extremely hot and should be used with caution to avoid burns. Use caution when cutting with an exacto knife – they are sharp! As always, wear clothes that you don’t mind getting dirty, because this or any DIY can be messy!

Let’s get started!

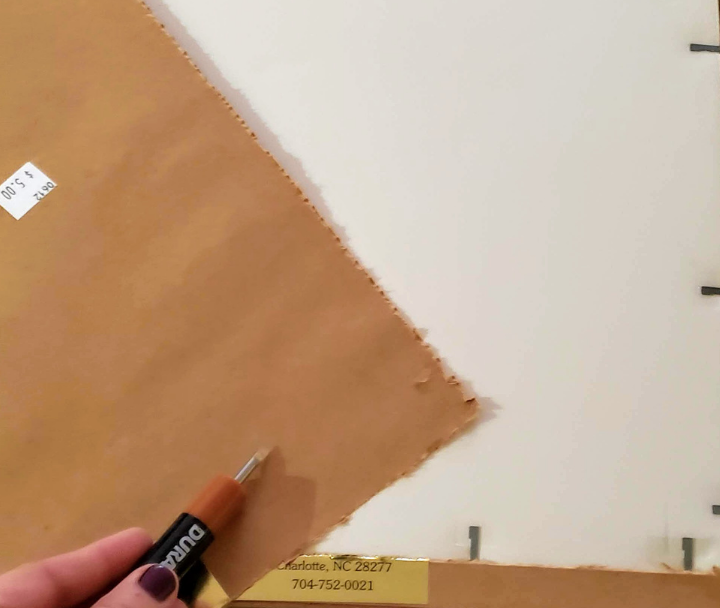
  • Grab your frame and remove the glass. Depending on how your glass is fastened, you will need to use pliers or a screwdriver to bend the clips away fromd back. Use your gloves for this part, the staples and glass can be very sharp! Remove any loose paper and hang onto the cardboard backing and matte from the frame. Set the glass aside.
  • Once everything is removed, thoroughly clean the frame.

Time to paint!

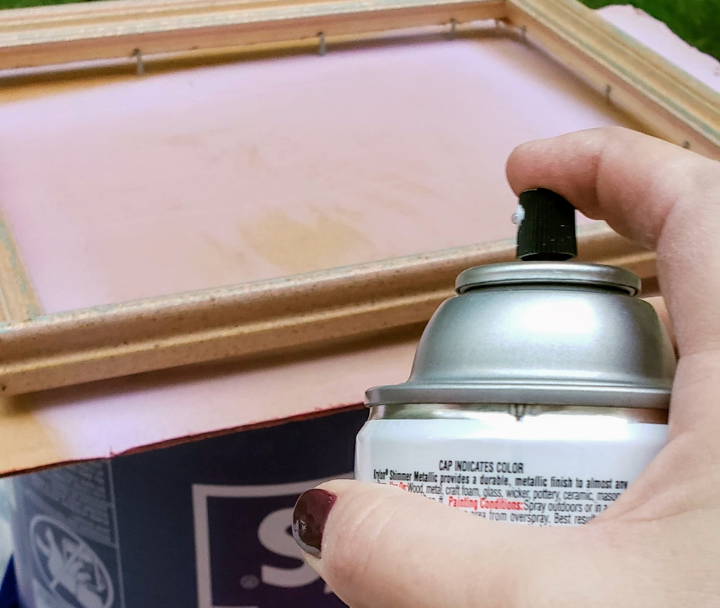
  • Using short, sweeping bursts, cover the front and sides of the frame with spray paint. Pay special attention to any decorative carvings within the frame, as these areas can be prone to drips!
    Pro tip: Have extra spray paint? If your frame contains a matte, paint it a contrasting color for use after the holidays! 
  • While the frame is drying, organize materials needed for the frame opening and matte, as well as handles. Be sure you have a drop cloth and a sturdy surface for cutting and glueing.
remove backing from picture frame
spray paint picture frame

Let’s make a tray!

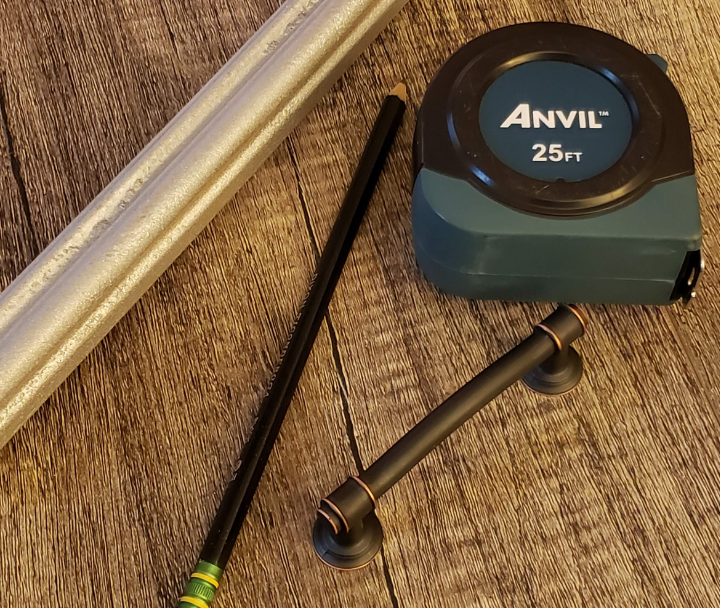
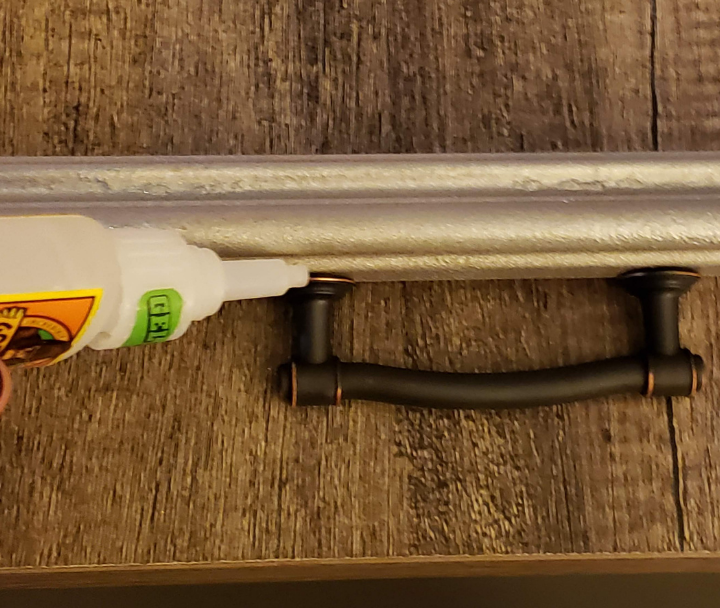
  • Once your frame is dry, it’s time to attach the handles. You will want to attach your handles on the shortest side of the frame; one on each side. Find the center of the shortest side of the frame and mark. Find the center of the handle and then line up with the center of frame. Mark the spot on the frame where the handle will be attached. Once marked, grab your Gorilla glue and attach the handle to frame at the spot marked and hold in place until dry. Repeat the process on the opposite side and let both handles dry well. Note: We do not recommend using screws included with cabinet handles as a means to attach handles to frame. Most frames are thin and screws would show or crack the wood.
measure handles for frame
gorilla glue handle to frame

  • Next, place your printed fabric or wrapping paper face down. Grab the backing from the frame and lie on top of the fabric. Trim fabric/paper around backing to about ½” to ¾” all the way around and using your tape, wrap the fabric/paper around backing just like a gift. Make sure fabric is taped down securely and is as flat as possible.  
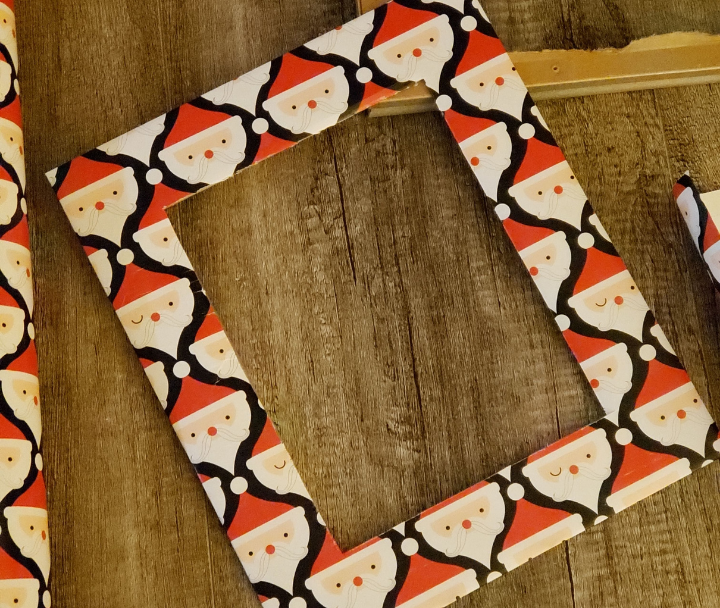
  • This next step is where we customized our project for Santa! We chose adorable Santa paper and wrapped it around our matte. All you have to do is place your matte face down on the wrapping paper and trim around the edges (like wrapping a gift!). Using your scissors or exacto knife, trim the paper from the center of the matte. Line-up the edge of your blade to the edge of the matte and carefully trim the paper, following the line of the matte. Once finished, wrap the matte (like a gift) with tape. 
buffalo check frame backing
matte covered in santa wrapping

Time to assemble!

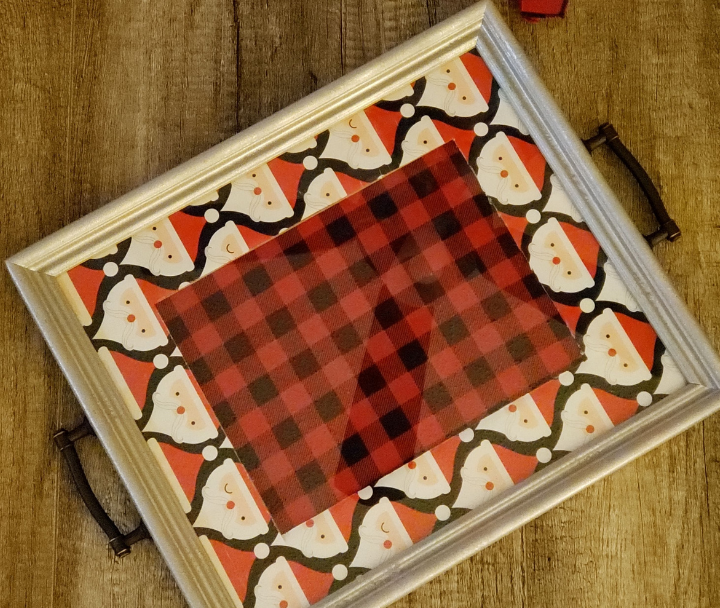
  • Begin by turning your frame upside down. Put a dot of Gorilla glue or hot glue in each corner of the frame, then insert glass carefully. Wipe away any excess glue. 
  • Next, place your wrapped matte face down and follow that with your fabric/paper-wrapped backing.
  • Finally, bend clips back into place to secure backing. For extra support, you can add tape around edges of backing attaching it to frame. Flip it over and clean before use.
    To clean the tray, simply wipe the glass and handles with ammonia-free glass cleaner.
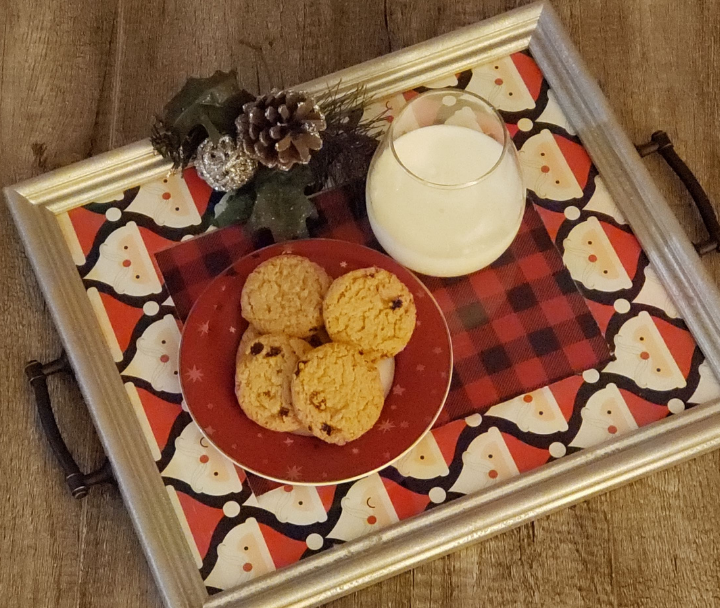
finished cookies & milk tray
Cookies & Milk Tray

Get ready for the holidays!

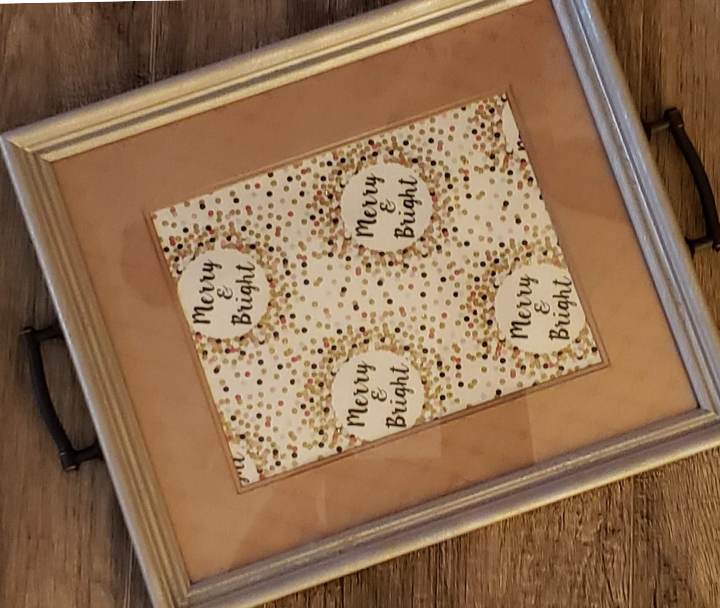
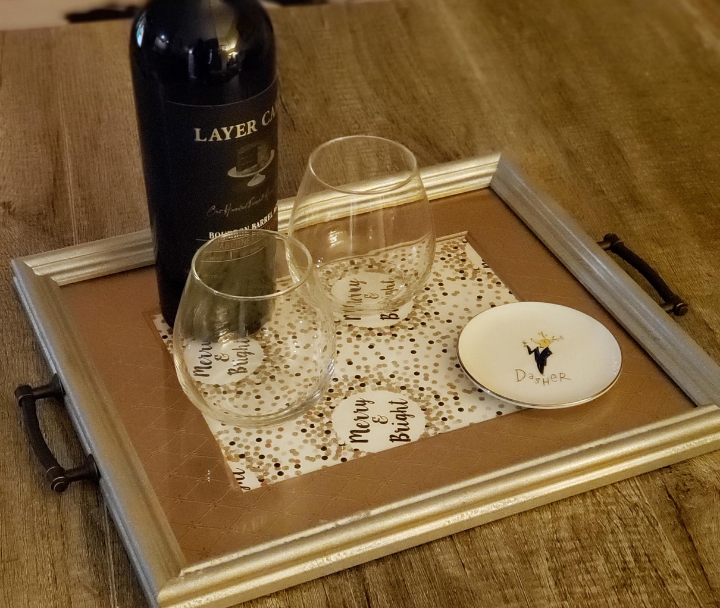
Use this tray for cookies & milk for Santa, to serve hot cocoa to the family on a cold winter night, or even as a cute centerpiece! We assembled our tray so that we could change out the fabric/paper; check out our glam tray at the end of this blog! By the way, this DIY is a great, budget-friendly gift perfect for any time of the year.

Feeling inspired with DIY creativity this holiday season? We would love to see it! Take a snap and share it on our socials, @cltregionrestore with the hashtag #ReStoreSantaTray2020! 

glam picture frame tray
wine on glam tray

More Stories