March 14, 2024 | Asia Bartholomew
Even though back-to-campus looks a little different this year, students are definitely heading back to school and will be living that dorm-life soon! That means it’s time to gather necessities and come up with cool ways to bring personality and organization to your dorm space!
Here at the Charlotte Region ReStore, we found a fun way to transform a picture frame into an earring holder! Picture frames are plentiful and inexpensive at our 7 stores, so we like to find new ways to use them – remember when we turned one into a chalkboard?
The DIY Earring Holder is a simple and space-saving way to display your earrings, keeping your small space neat and organized.
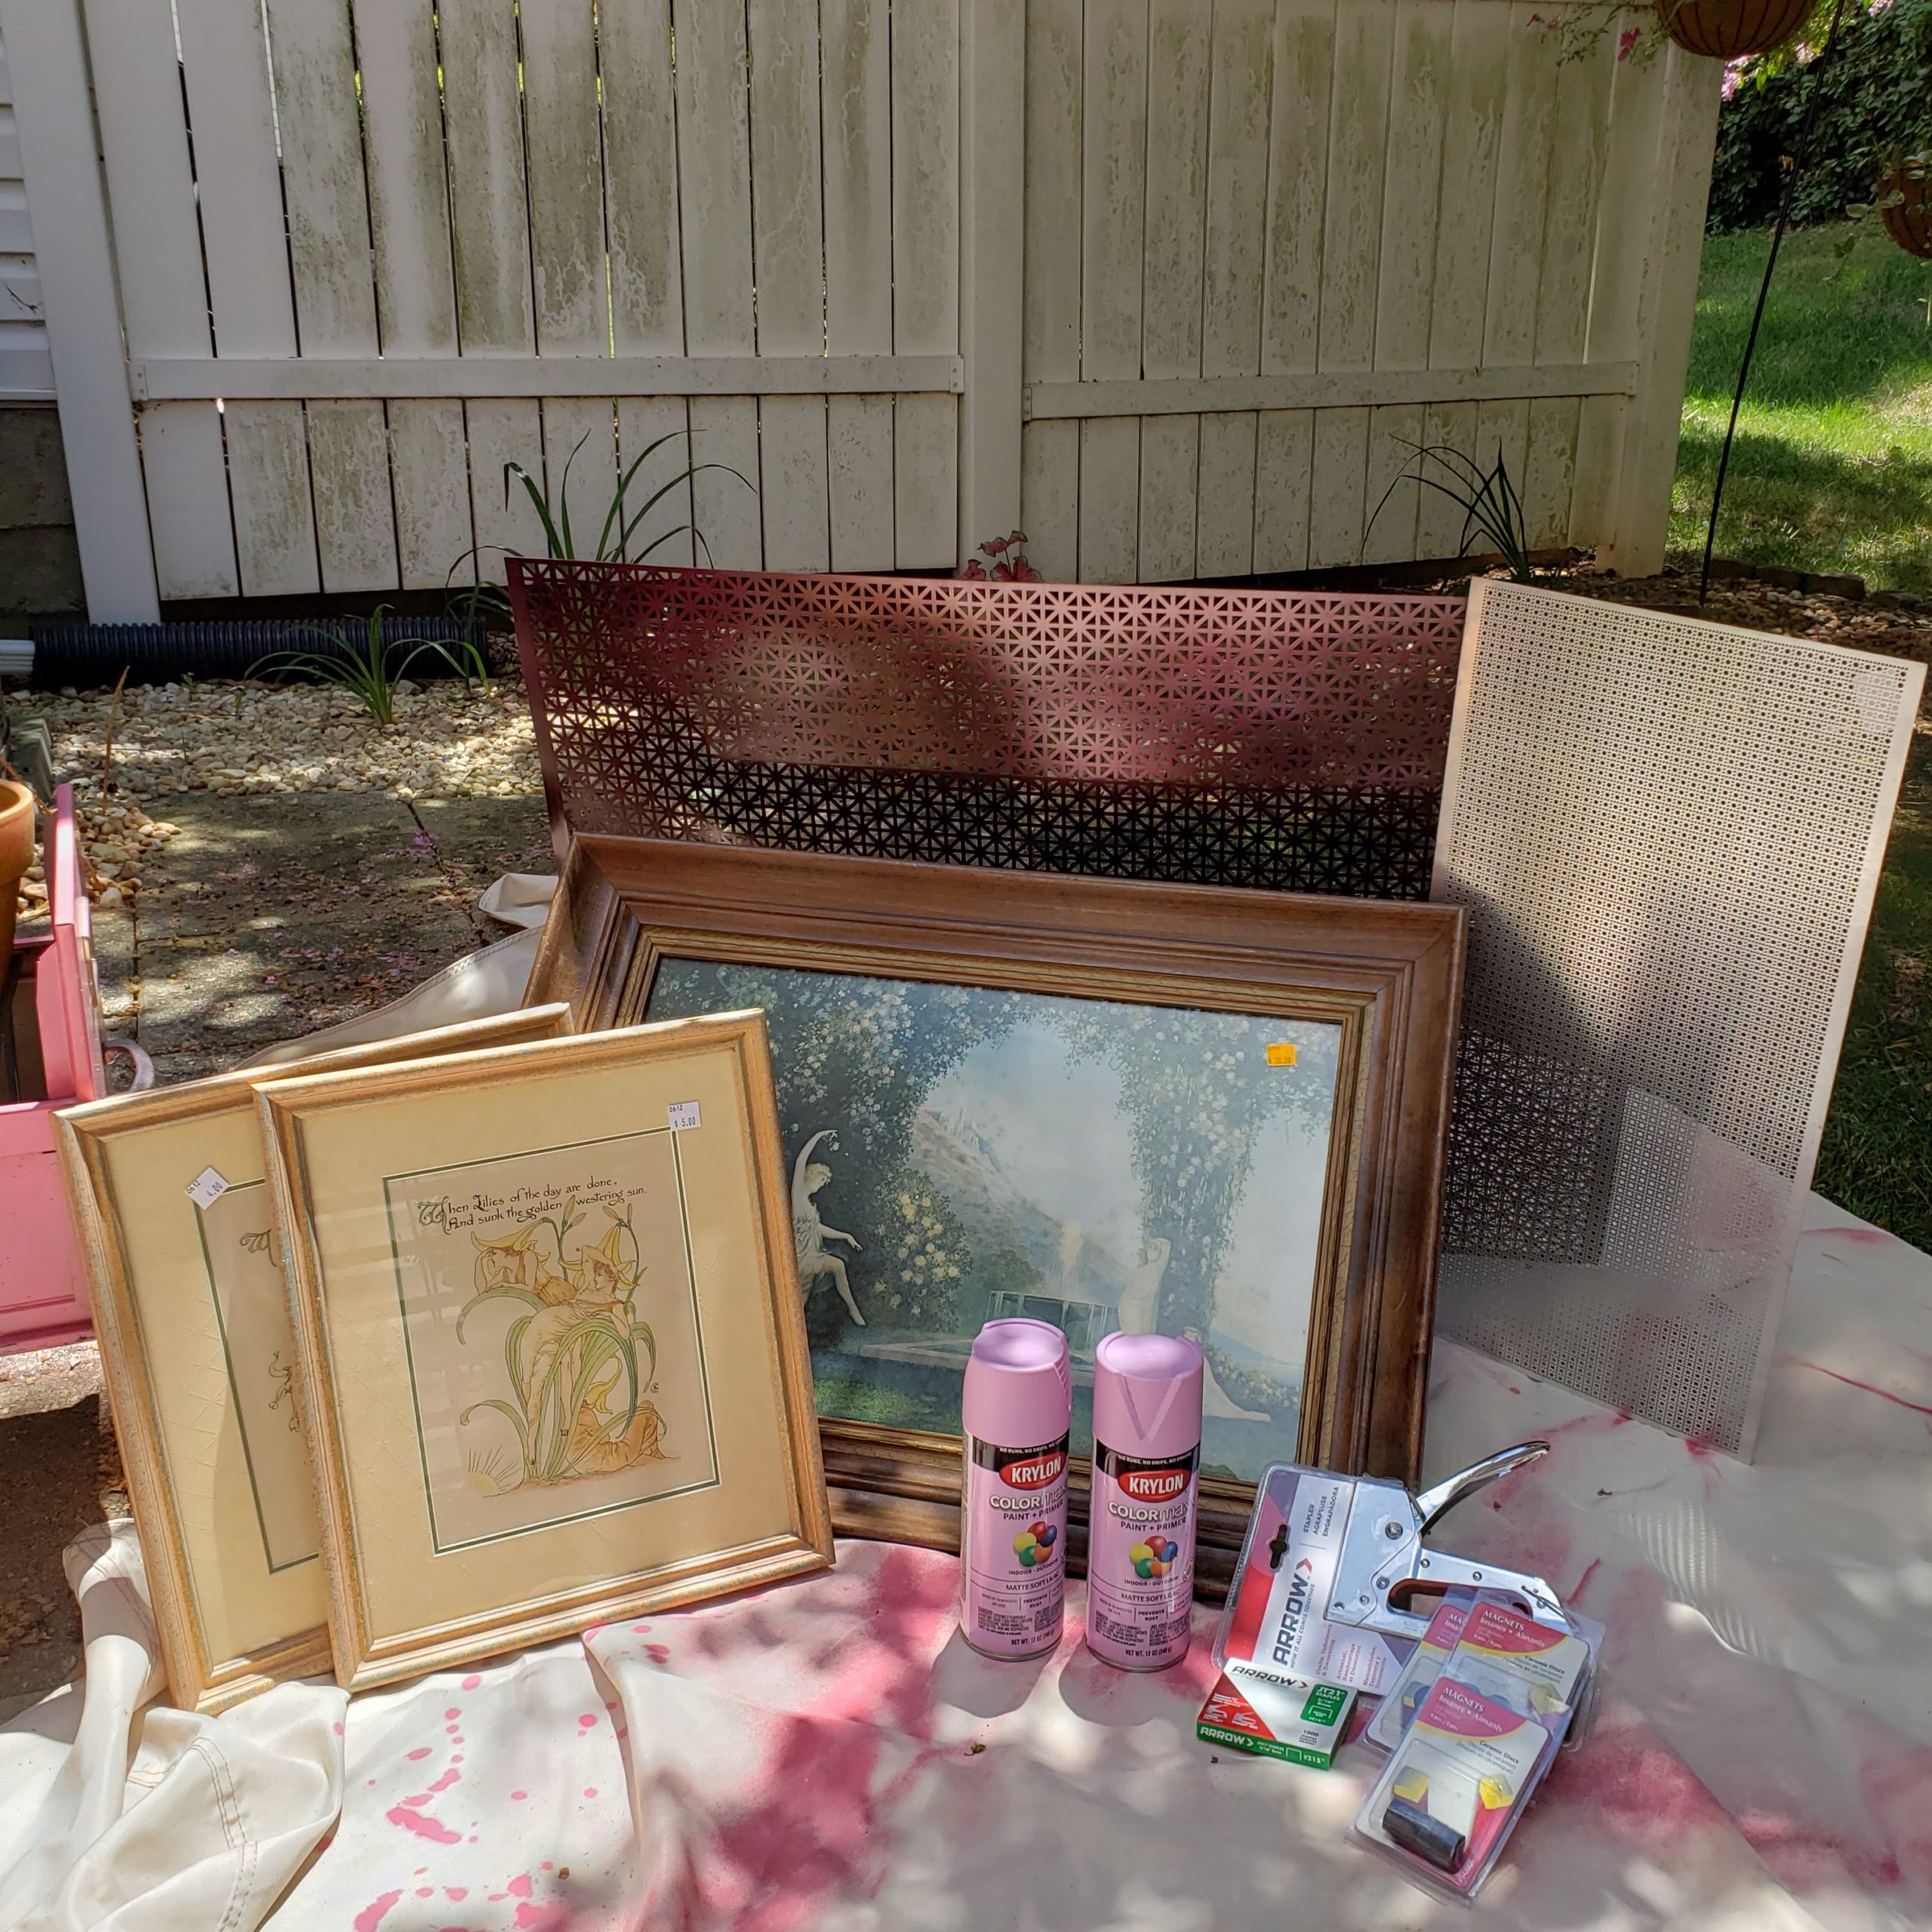
First, let’s talk about materials. You will need the following:
- Picture frame. Any size will do, we chose a large one but you can transform several small ones for a gallery effect.
- Pliers, screwdriver
- 1 can of spray paint (we chose lavender)
- Paint tape
- 1 sheet of decorative sheet metal (comes in a variety of sizes, check your frame size!)
- Heavy-duty scissors or metal snips
- Manual staple gun and staples
- Gorilla Glue or hot glue
- Sharpie
- Canvas or fabric backing (optional)
- Cleaning supplies, drop cloth
- Safety mask, goggles, and gloves
Next, let’s talk about safety. When preparing to complete the DIY Earring Frame, be sure you are painting in a well-ventilated area! When cutting metal, it is important to wear goggles and gloves as metal is sharp! As always, wear clothes that you don’t mind getting dirty, because this or any DIY can be messy!


Let’s get started!
- Grab your existing frame and remove the glass. Depending on how your glass is fastened, you will need to use pliers or a screwdriver to remove the clips or staples from the back. Use your gloves for this part, the staples and glass can be very sharp! Remove any loose paper backing or cardboard from the frame. Set the glass aside.
Pro tip: Save the glass for a future DIY! - Once everything is removed, thoroughly clean the frame. Using the paint tape, cover frame components (like decorative mouldings) if you want to preserve original color.
Time to paint!
- Using short, sweeping bursts, cover the front and sides of the frame. Pay special attention to any embellishments or carvings on the frame, as these areas can be prone to drips!
- While the paint on the frame is drying, measure the decorative sheet metal. Simply lay the glass on top of the metal and using your Sharpie, trace the outline of the glass on the metal. Once the outline is traced, grab your snips, don your gloves, and carefully cut the metal to size. Your cuts may leave jagged edges and that’s ok, just trim them as best you can; they will be disguised within the frame.


Time to assemble!
- Your frame should be dry by now, so it’s time to put it all together! Place your picture frame face down on your drop cloth. Next, place your metal into the frame, pressing firmly to ensure a tight fit. Fasten the metal to your frame with staples, hot glue, or gorilla glue depending on the type and size of your frame (we used hot glue).
- Now that your metal is attached, it’s time to conceal the back! With your frame face down, trim a piece of canvas or decorative fabric to fit the back of the frame.
- Using your stapler, fasten the fabric to the back of the frame. Start with stapling on one corner, pull the fabric tight and fasten in the opposite corner. Repeat this process with the remaining corners. Once the corners are secure, staple fabric between corners.
Time to hang!
Now that your frame is complete, it’s time to hang! Find a wall near a mirror, over your desk, or even in the bathroom and hang using a nail or command strips. Decorate with earrings and there you have it! A fun and easy way to organize and display your earrings while saving space and the environment by transforming a frame from the Charlotte Region ReStore!
Are you feeling this DIY for YOUR dorm? We would love to see it! Take a snap and share it on our socials, @cltregionrestore with the #ReStoreDormDIY!


Like this DIY?
Sign up for the ReStore Rundown and be the first to know about our latest DIYs, cool products, and more!


