March 14, 2024 | Asia Bartholomew
Looking for a cool way to display messages or reminders? Love chalkboards but hate their boring look? Then this is the perfect DIY for you!
We are making chalkboards out of everyday frames from the Charlotte ReStore!
First, let’s talk about materials. You will need the following:
- Frame with glass. Any size will do, just be sure to remove old artwork.
- Rubbing alcohol or glass cleaner
- 1 can of spray primer (like Zinser 1-2-3 primer)
- 1 can of spray paint (pick your color!)
- 1 quart chalkboard paint (like Rust-oleum chalkboard paint)
- 1 flat-head screwdriver (to open paint can and/or pop clips off back of frame)
- Paint tray, brushes (bristle or foam) or paint roller, drop cloth, cleaning cloth, dust masks and work gloves
Next, let’s talk about safety. Be sure you are painting in a well-ventilated area! Wear clothes that you don’t mind getting dirty, because this DIY can be messy!
Let’s get started!
- Grab your existing frame and remove the glass. Depending on how your glass is fastened, you may need to use a screwdriver to pop clips off the back. Use your gloves for this part, the glass can be very sharp! Pro tip: Put the clips in a safe location as you will use them to secure chalkboard glass at the end.
- Once the glass is removed, clean using rubbing alcohol or glass cleaner.
- Using short, sweeping bursts, cover entire glass with spray Allow primer to dry completely or chalkboard paint will not work. Depending on conditions, drying could take up to 30 minutes. Pro tip: Lay glass on a flat surface so you will not have to handle glass while painting.
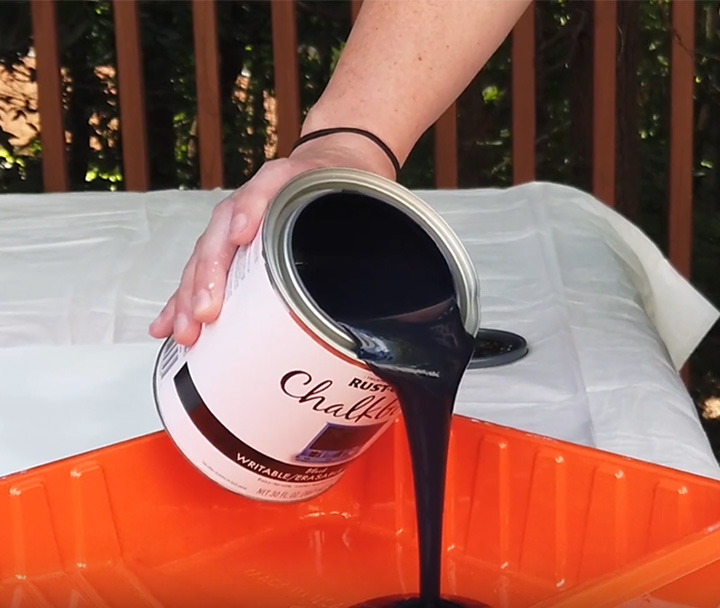
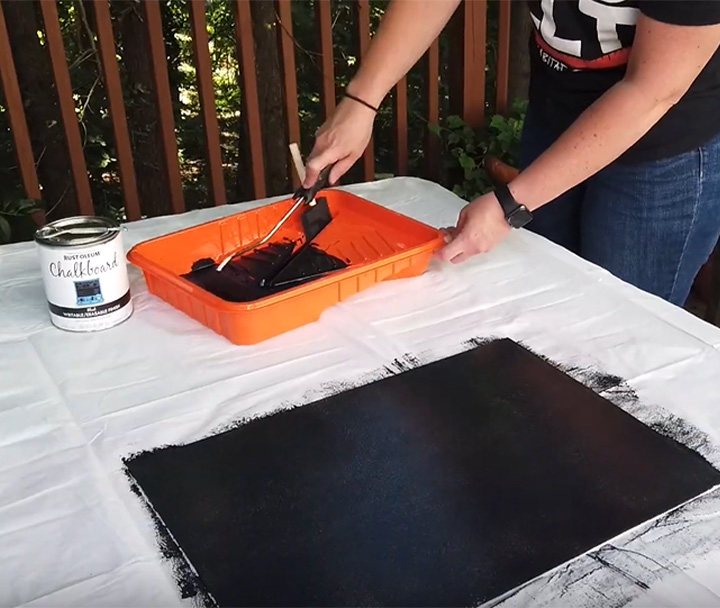
- Once primer is dry, open chalkboard paint and stir Choose your brush and begin painting your first coat. Chalkboard paint goes on uneven, but don’t fret! Your second coat will smooth out and look great. Pro tip: Apply paint with even brushstrokes in the same direction.


- Allow first coat to dry completely. This could take up to an hour depending on conditions.
- Now that the first coat is dry, apply the second coat. This time, apply brushstrokes in opposite direction. This helps create a smooth, evenly-coated chalkboard.
- As the second coat of chalkboard paint dries, it is time to work on the frame. Using your favorite color spray paint, apply short, sweeping strokes to frame. Be sure to allow frame to dry completely. Pro tip: Hold the can 6-8 inches away as you paint to avoid drips.
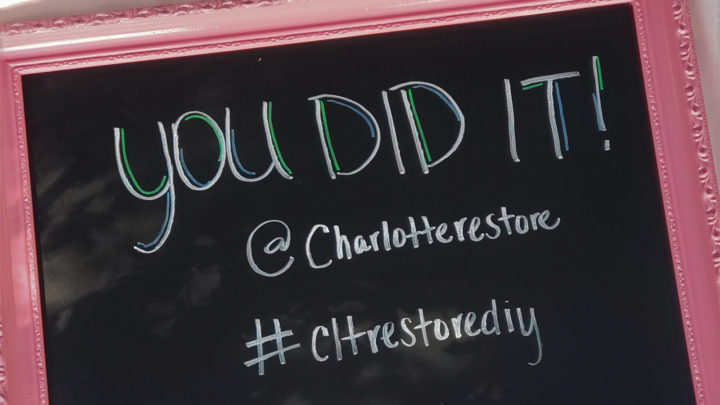
- Once frame and glass are completely dry, carefully reassemble and voila! You have a one-of-a-kind, upcycled chalkboard!
We would love to see your results! Post your chalkboard projects using the hashtag #cltrestorediy! Be sure to subscribe to our YouTube channel, and follow us on Facebook and Instagram.


