March 14, 2024 | Asia Bartholomew
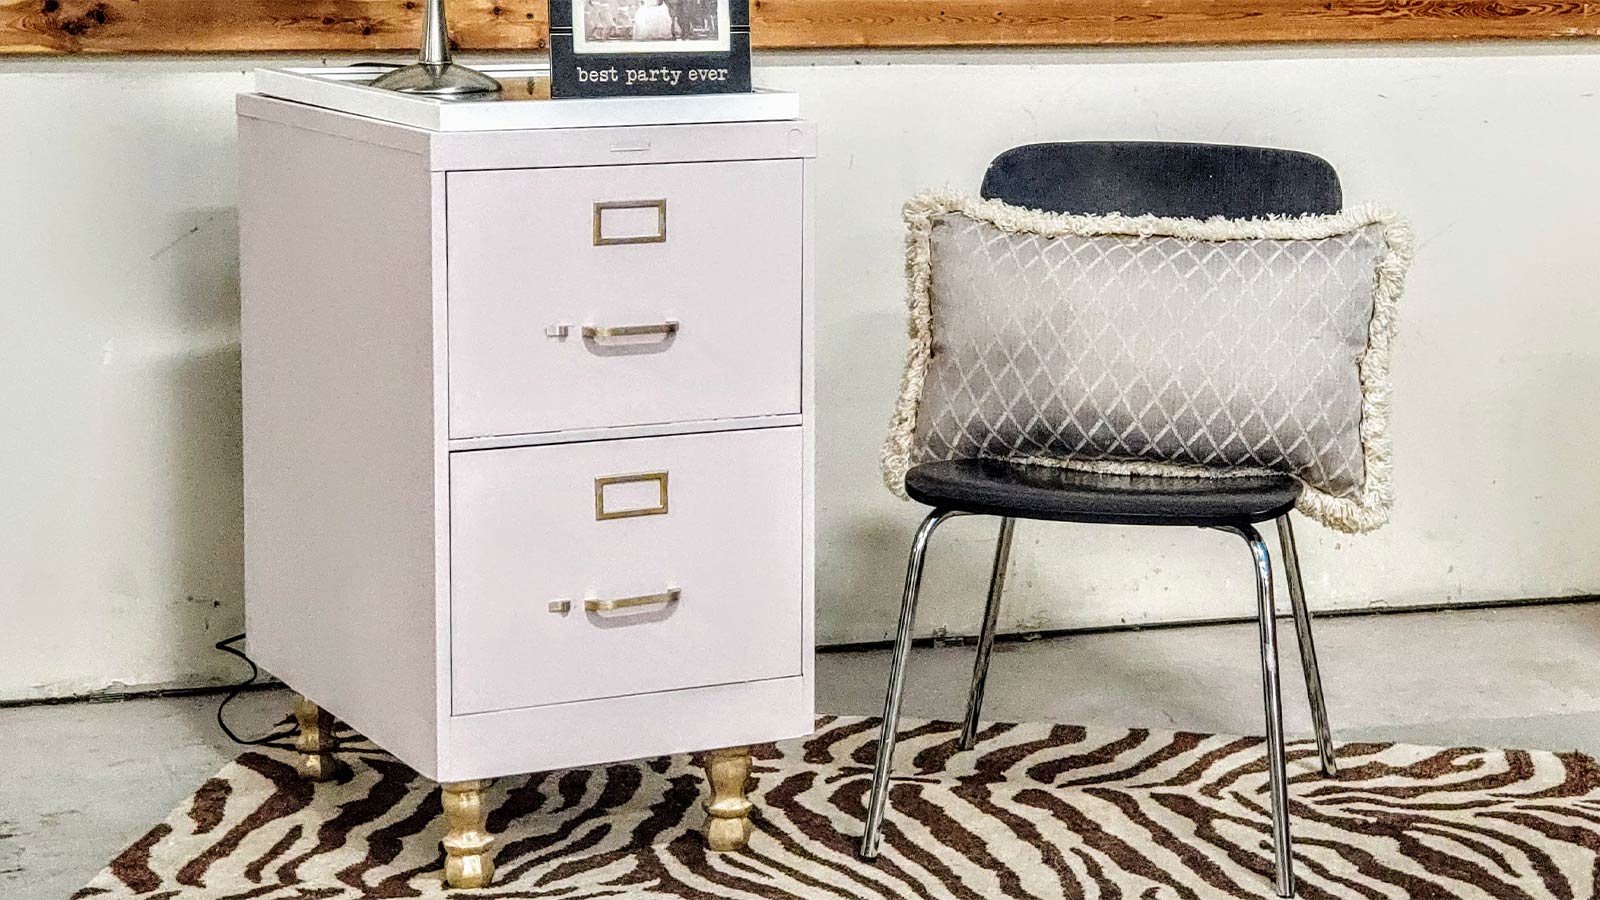
The start of a new year always turns our thoughts toward organization. In addition to organizing closets, it’s time to organize files. There is nothing more uninspiring than that boring, beige beast of a filing cabinet. If you are going to have to spend time organizing papers, you may as well be inspired while filing, right? Check out how we transformed our filing cabinet into a pretty and functional piece of office furniture!
To get started, here’s what you’ll need:
- Cleaning supplies
- Screwdriver
- Pliers
- Measuring Tape
- Spray Paint In 2 Colors (1 for cabinet, 1 for legs)
- Hammer
- Drill & 2 Drill Bits
- Four, 4”-6” Furniture Legs
- File Cabinet
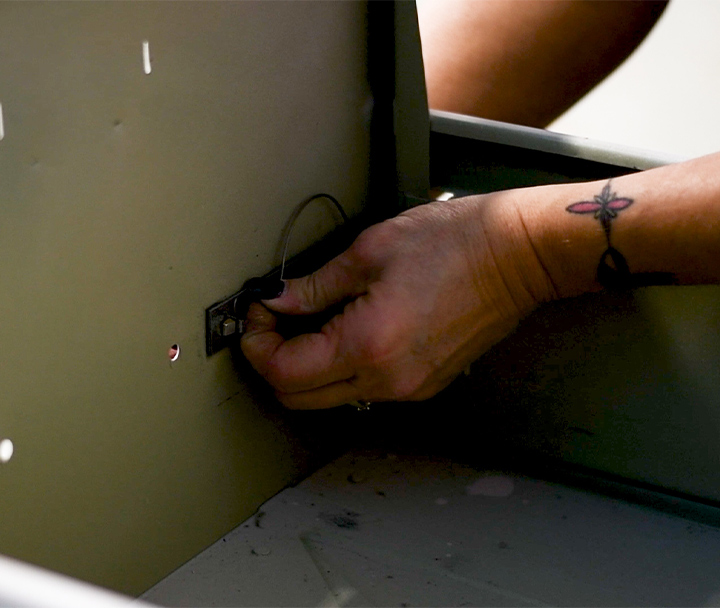
The first step is to remove the hardware. Our file cabinet has drawer pulls, buttons, and file card slots on the outside. In order to remove those items, you must open the drawer and remove the screws from the inside of the drawer face. This is where your screwdriver and pliers will come in handy.
You will want to unscrew the screws that attach the inside faceplate to the handle on the outside. This will allow the handle on the outside to be removed while exposing the file card and button mechanism on the inside. Use your pliers to straighten the tabs of the file card holder and it will come out easily. Next, disassemble the button mechanism. Ours had a wire that attached to the button and locking bar. Yours may look different depending on the brand of file cabinet. Repeat this process for all drawers.
Once all hardware has been removed, it’s time to turn everything upside down!
Next, we are going to prepare our cabinet for furniture leg installation later in this process. Turn your file cabinet upside down (make sure you are on a flat surface!). Measure and mark where you will want your furniture legs to be placed. We placed ours about 2” inside each corner – we eyeballed ours, but it’s always better to measure!
Once you have determined where the legs will be placed, it’s time to drill pilot holes. Grab your drill and the smaller drill bit and make your hole. Be patient and use steady pressure as this is metal! After your pilot holes are complete, switch to the larger drill bit (which should be approximately the size of your furniture leg attachment) and make those holes. With that completed, flip the cabinet right-side-up.
Once your cabinet is flipped, you will want to clean all sides of it thoroughly. Be sure to remove any dust and debris, including any that may be on the drawer fronts or lodged into handle attachment areas. Cleaning thoroughly will ensure a smooth surface for the paint to adhere properly.
Let’s paint!
As always, make sure you are in a well-ventilated area. Grab your spray paint, and using small, smooth sweeps, cover the file cabinet. Don’t forget to paint the space between the drawers!
Pro Tip: Leave drawers open while painting! This will reduce the risk of them drying shut!
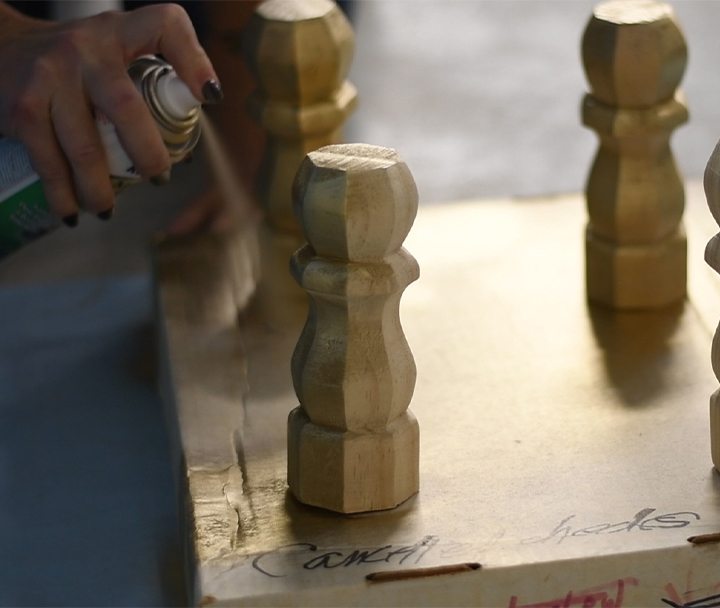
Depending on your paint color, you may need to use several coats. We chose a blush pink which required 3 coats. While your cabinet is drying, paint your hardware and legs. We chose a matte metallic gold which only required one coat.
Pro Tip: Secure furniture legs to a cardboard box (as shown above). This allows them to “stand” for painting and good airflow for drying.
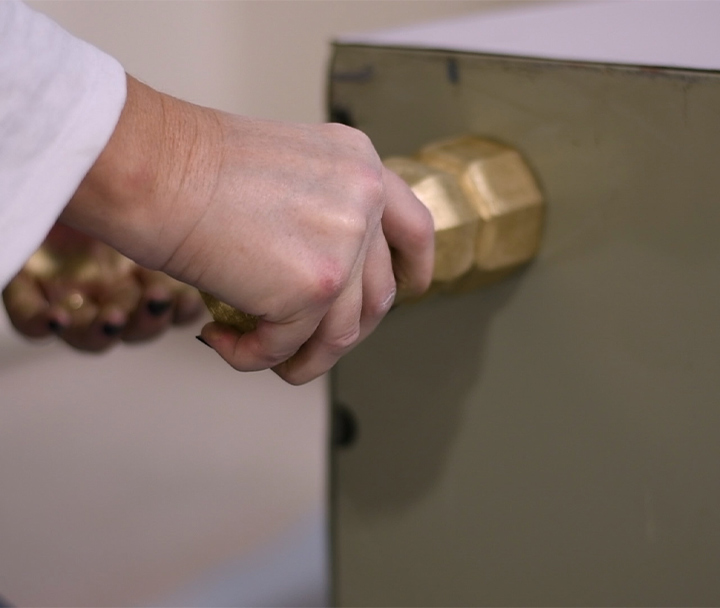
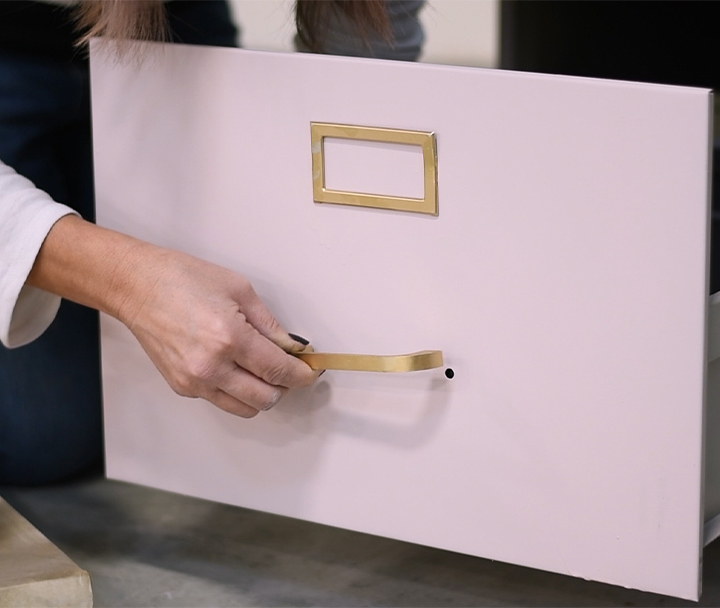
Once everything is completely dry, it’s time to reassemble. Carefully turn your file cabinet onto its side and attach furniture legs. Depending on your furniture leg assembly, you may need to remove the bottom drawer of the file cabinet so you can tighten hex nuts. Once legs are securely installed, flip the cabinet upright and begin putting drawers back together.
There you have it! A file cabinet worthy of inspiring organization (and papers)!
Want to try out this DIY? The four Charlotte ReStore locations always have a large stock of file cabinets ready to be re-imagined! Share your transformations with us on social media, we can’t wait to see them!
Feeling inspired?
Sign-up for the ReStore Rundown and get the latest news, DIYs, and product updates right to your inbox!

