Adjust Ban Book Bookmark Calendar Car Checked Circle Outlined Clock Close Coffee Equal Housing Opportunity Exclamation Facebook Female Flag Gift Globe Graduation Grid Hammer Hand Heart Habitat for Humanity Charlotte Habitat for Humanity Charlotte - Julia's Cafe & Books Habitat for Humanity Restore Charlotte Habitat for Humanity - Young Professionals House Instagram Leaf Line Chart LinkedIn Habitat for Humanity Restore Megaphone Menu Mobile Pencil Recycle Search Star Suitcase Tags Twitter Users Wrench YouTube Envelope
April 28, 2021

Spring DIY: Standing Shutter Planter

By Corina Patterson

Spring is here and it’s time to fling open those windows, get outside, and beautify your space!
We’re all about repurposing things here at the CLT Region ReStore and if you’ve ever been to the store, you know we have lots of shutters.
Last year we showed you how to repurpose a shutter for the holidays into a
Nutcracker, & now we are going to show you how to make a standing planter! This project is perfect for the patio, porch, or even as a divider for those that live in an apartment or condo! With a variety of shutters on-hand, we certainly have one that will work for your space!

Ready to get started?

Shutter Planter Supplies

Let’s talk about materials. You will need the following items in order to create the perfect standing shutter planter:

  • 1 shutter. When choosing a size, be sure to consider the space where you will place the planter. Additionally, make sure it’s wood or a heavy vinyl as you will need to be able to drill into the shutter. We chose a wood shutter approximately 18”w x 60”h.

    Pro-Tip: A white shutter will accentuate the colors of your flowers and plants!
  • 2 pair of shelf brackets (we chose black metal, but you can use wood – heck you may even find some at the ReStore!)
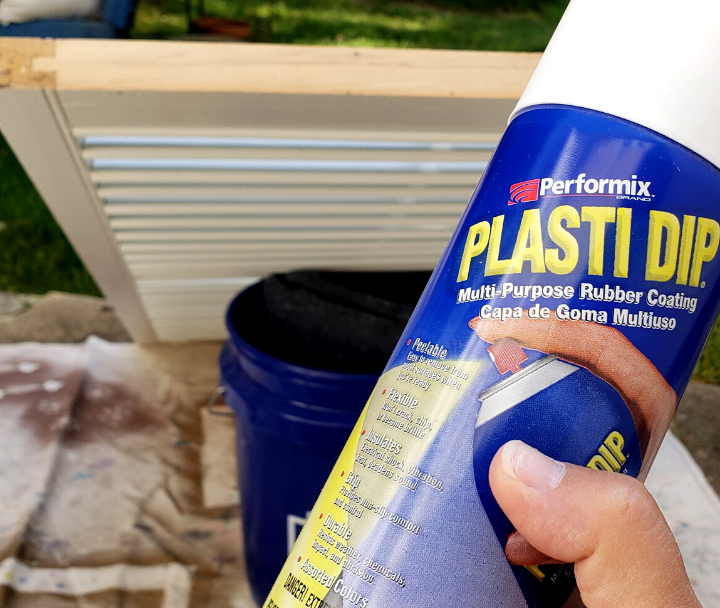
  • 1 can of spray sealant to match your shutter (we chose Plasti Dip, but Flex Seal products will work)
  • Recycled moving blanket (we found on Amazon for about $7/blanket)
  • 1 – 1” x 3” measuring 3 ft long, cut in half (these serve as braces for shelf brackets)
  • 4 – 1.5” wood screws (to attach brackets) 
  • Plants, flowers, potting soil

    Pro-Tip: Choose plants that are small, trailing, or succulent to fill out pockets.
  •  Manual staple gun with staples
  •  Drill with bits for Phillips screwdriver and pilot holes
  •  Measuring tape, pencil
  •  Project table or saw horses
  •  Cleaning supplies, drop cloth
  •  Safety mask, goggles, and gloves

Next, let’s talk about safety. When preparing to complete the DIY Standing Shutter Planter please follow all instructions on tools, wear proper safety equipment, and always paint in a well-ventilated area! As always, wear clothes that you don’t mind getting dirty, because this will be messy!

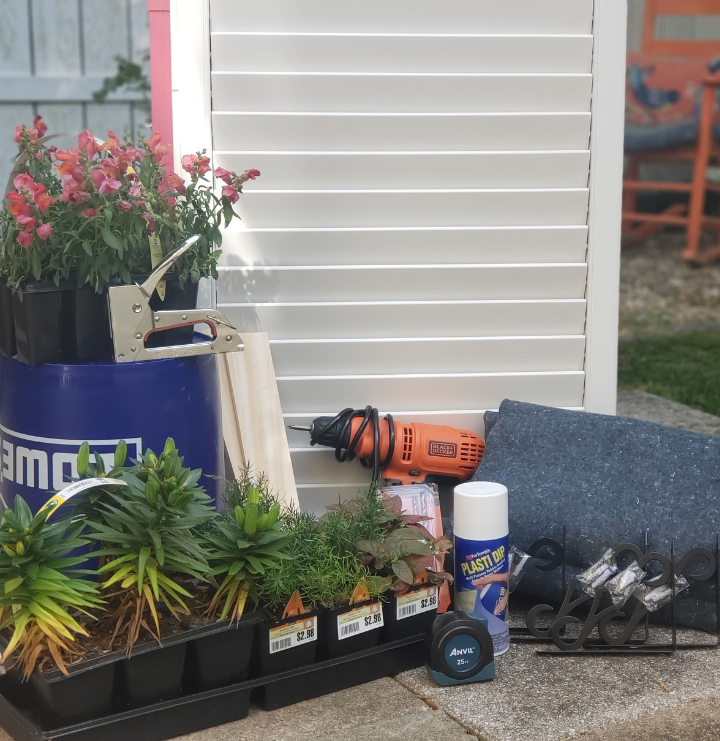
Let’s get started!

  • First things, first! Clean your shutter thoroughly and remove any hardware – like hinges or rods that open/close shutters.
  • Start by laying your shutter flat (on table or saw horses) and spray both the top and the bottom with spray sealant. This will weatherproof the wood and keep moisture from absorbing into the wood. Be sure to inspect other areas of the shutter like louvres and sides for exposed wood, cover with sealant and let dry.


Make the Shutter Stand!

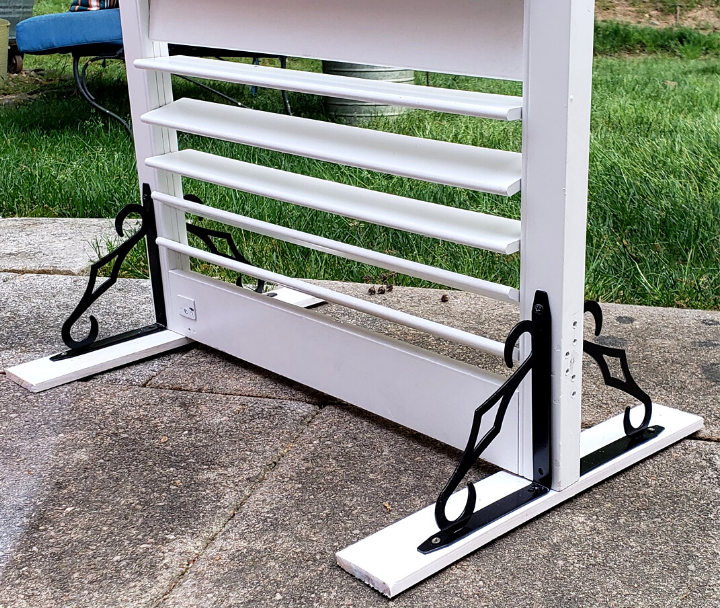
  • Grab one of the 18″ brace boards and center it on the bottom of the shutter so that you have equal amounts of the board sticking out in front of and behind the shutter. This will serve as a brace for the shelf brackets. Mark the area, drill pilot holes, and secure the brace to the shutter with wood screws. Repeat this process on the other side of the shutter and stand shutter.
  • Next, attach shelf brackets to each of the four “feet” according to instructions. Although getting the drill into the tight, decorative spaces of the bracket was challenging, the brackets attached easily to both the shutter and the “foot”.


Seal exposed wood
shutter with feet

Time to Create Potting Pockets!

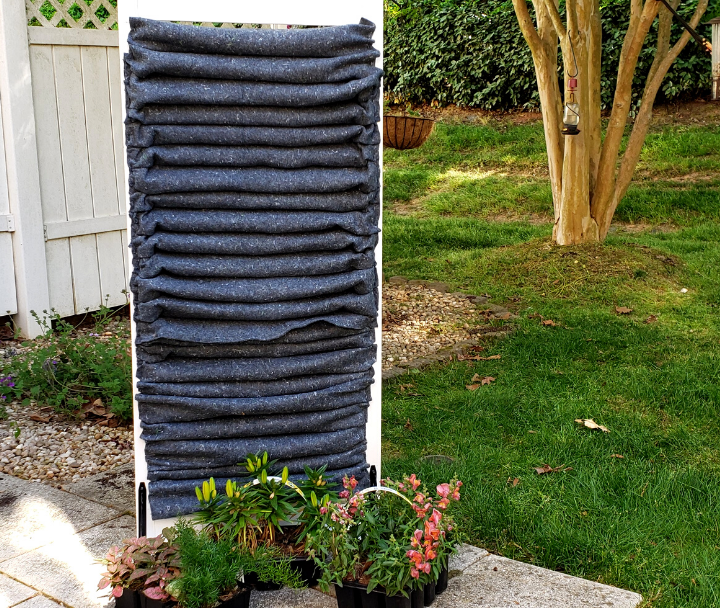
  • Trim your moving blanket so that the width covers the louvres on the shutter leaving about 2 inches excess on each side and the length extends 3 – 4 inches above and below louvres. 
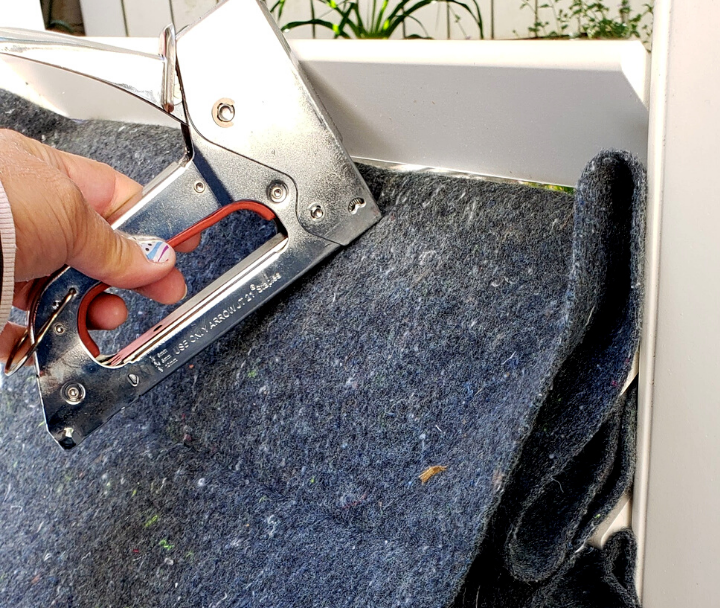
  • Starting with the bottom louvre tilted flat, line the edge of the blanket with the front edge of the louvre so that the blanket and louvre are flush. Staple blanket in place along this line. 
  • Once the blanket is attached, pull about 3” – 4” of blanket back and fold forward to the next louvre. Leaving the excess loose, line up the edge of the blanket with the front edge of the louvre and staple. You will have a large opening that creates a pocket between slats, this is what we will fill with plants! Repeat this process on each louvre, all the way up to the top. Think of it like ribbon candy, layering back and forth.Pro-Tip: Run out of blanket before you get to the top? No problem! Just trim another piece and pick-up where you left off! This project is very forgiving. 
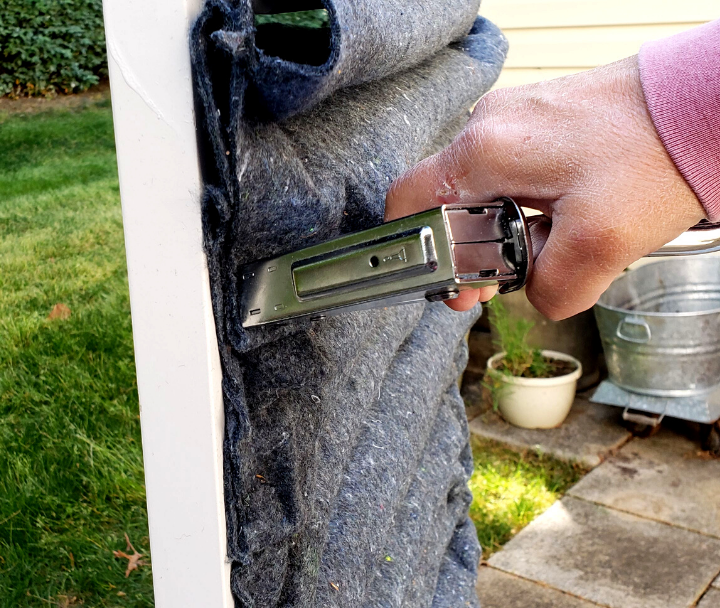
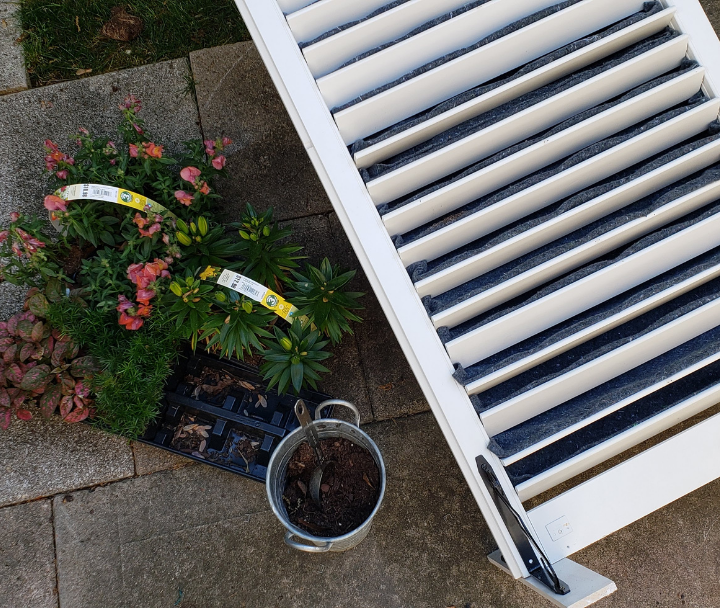
  • Now that you have attached the blanket to the louvres, it’s time to close the sides. Starting at the bottom pocket, pinch together and press the excess blanket on the side flat to the shutter and staple. Be sure and leave some room for dirt to fill out your pocket.
    Repeat this process for every pocket on both the right and left side of the shutter.
staple blanket on shutter
close pockets

Time to Plant!

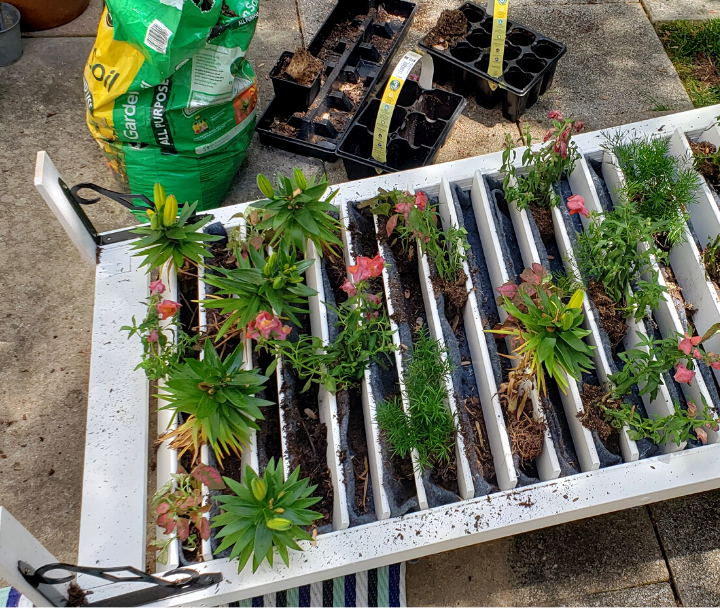
  • Now that your pockets are secure, it’s time to fill them with dirt and plants! We found that the easiest way to do this is to lean the shutter against a table, creating an angle that allows the dirt to naturally sink into place. #gravity 
  • Next, fill each pocket about ¾ the way with dirt. Lay out your plants so that heavier ones are at the bottom and light or trailing ones are more toward the top. 
completed pockets
time to fill the shutter

  • Once you settle on placement, plop the plants into place and fill the pockets the rest of the way with dirt. 
  • Go ahead and water in the plants, making sure they get a good drink. The blanket helps with this by holding moisture.
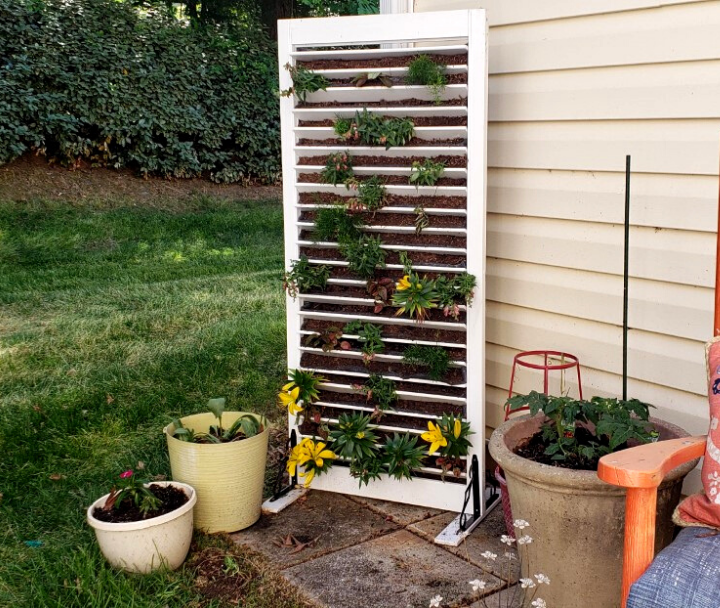
  • Stand-up your Shutter Planter and enjoy!Pro-Tip: Lightly tilt your louvres upward to support your plants before standing!
Finished shutter

Create a Patio Paradise with the ReStore!

This DIY was especially fun for us! The project itself is a little more challenging than some of our others but the impact is huge! Not only is there a cool wow-factor but the availability of project components at the ReStore plus the earth-friendliness just makes this an all-around beneficial project.

Feeling inspired to give this one a whirl? We would love to see it! Take a snap and share it on our socials, @cltregionrestore with the hashtag #DIYStandingShutterPlanter! 


More Stories