Wedding Reception Place Card Holder
Hey, there, it’s Sarah of Sadie Seasongoods again, with a new upcycling idea to share with you.
Did you catch the news story about Kiara and Joel Brokenbrough and their $500 wedding? Well, we at the Charlotte Region ReStores were quite taken with their savvy ways and wanted to try our hand at a budget-friendly wedding project! So, I decided to create a simple but lovely place card holder that any budget-conscious bride would be proud of! And it all started with a plain cork board from one of our ReStores.
Here’s what you’ll need:
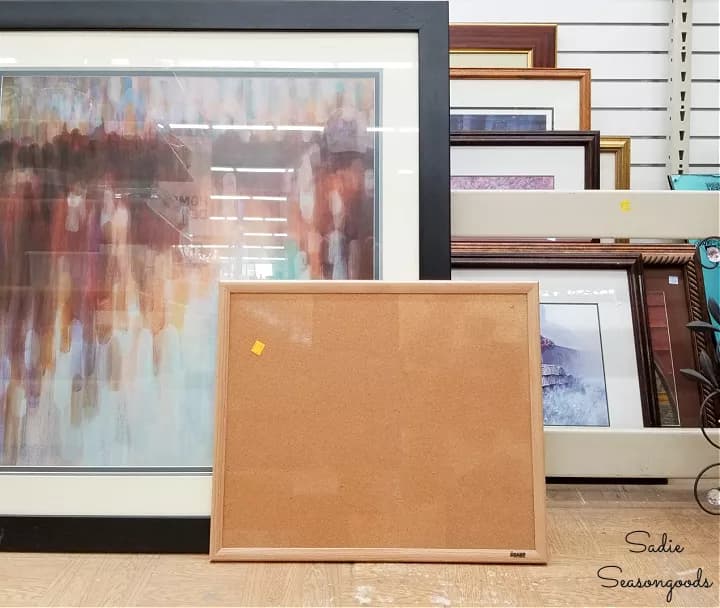
- Cork board from Habitat ReStore (check the framed art section!)
- Paint and small paint brushes
- Wide painter’s or masking tape
- Butter knife and box cutter (or other safe crafting blade)
- Jute twine
- Scissors
- Thumbtacks or push pins
- Place cards
- Mini clothespins (from the scrapbooking section of a craft store; optional)
Safety first!
When using any sort of crafting knife/blade, be sure to cut away from your body and keep fingers and hands away from the cutting motion.
Here’s how I transformed this cork board:
- Head to one of our ReStores and look for a cork board in the framed art section. You may recall this cork board upcycle I did, as well! And both cork boards came from the Wendover Store.
- To paint the frame but not the cork, I lined the interior cork surface with strips of wide painter’s tape, using a box cutter to carefully cut the paint strips at the ends of the frame. Then, I used a butter knife to carefully tuck the tape edges into the corners and under the frame.
- Once the tape was in place, I gave the wooden frame two coats of paint. Be sure to coordinate the paint color to your wedding theme!
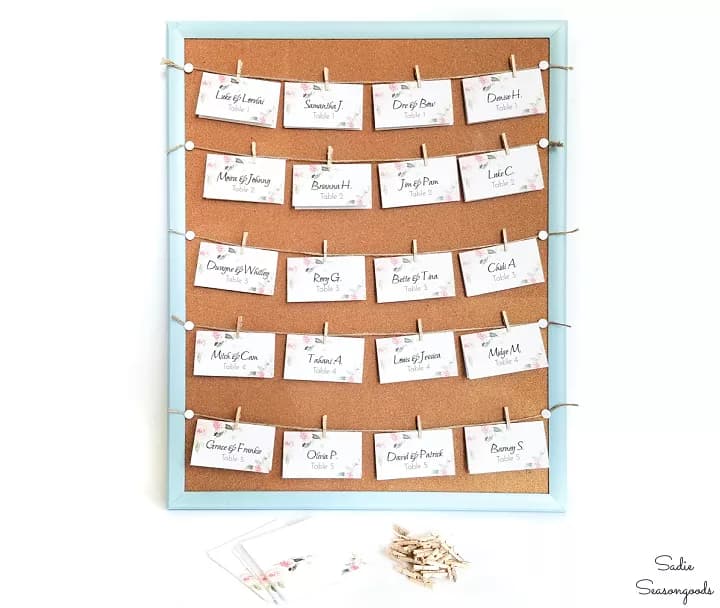
- After the paint dried, I measured out lengths of jute twine that were about 4”-5” inches longer than the cork board. I tied a knot in one end, secured it with a thumbtack and did the same at the other end. Then I simply trimmed off the tails.
- Lastly, I used tiny clothespins to clip the wedding reception place cards to the lengths of jute twine! And, yes, you could simply hang the folded cards directly on the twine, instead, if you didn’t have or want to use the little clips.
- Now your guests know where to sit and you have a pretty display for your reception, as well!
Congratulations and Best Wishes!
Isn’t that a fun and whimsical way to upgrade a boring cork board? Inexpensive, functional, and lends itself to a pretty display at your wedding. Do you plan on having a DIY Wedding any time soon? We’d love to see your budget-friendly projects that started at one of our ReStores. Please tag us (@cltregionrestore and @sadieseasongoods) with the hashtag #ReStoreWedding to show off your projects!